Export Options in Enscape
When you stop and consider them all at once, it’s surprising how many options Enscape offers to export high-quality visualization content. In this Weeks post, we will look at seven different ways to do so. Thus, no matter if you are a daily Enscape user or new to the scene, there will be something for you in this post. And, spoiler alert, one command has seen significant improvements in the most recent update, which includes the first-ever selectable element within the Enscape environment!
Listed here are the seven export options we will cover…
- Enable VR
- Screenshot (to File)
- Screenshot (As Rendering | only available in Revit)
- Export EXE
- Export Video
- Take Panorama (Mono)
- Take Panorama (Stereo)

Enscape Export Options
Let’s take a closer look at each of these export options; all of which work the same in Revit, SketchUp and Rhino – with one exception, as noted above.
Enable VR
In a sense, clicking the Enable VR option while Enscape is running, is an export-to-VR option. However, more to the point of this post, when combining this option with the Export EXE feature, we can create a VR-Ready standalone EXE file.
No need for Revit, SketchUp, Rhino or even Enscape! Just double-click the EXE file on a computer with a properly configured VR system, such as the HTC Vive, Oculus Rift or one of the new Windows MR devices, and that’s it – a pre-packaged immersive VR experience to send to a client or take on the road.

Enscape VR Experience
Screenshot (to File)
This is everyones go-to command to create high quality still images as PNG, JPG, EXR, or TGA. I always say “it now takes longer to compose the view than it does to render and generate the raster image file”!
It is helpful to know that the resolution of the image can be set in the Enscape Settings dialog. By default, the resolution is set to Window, which means, use the width, height and resolution of the Enscape window. I like to leave this set at 1080p, so the quality is always high and I do not have to go back and recreate any images (see image below). This setting also creates a consistent aspect ratio. But, if you have a slower graphics card (GPU) that may take too much time early on in the design process; so a lower setting would be more appropriate.
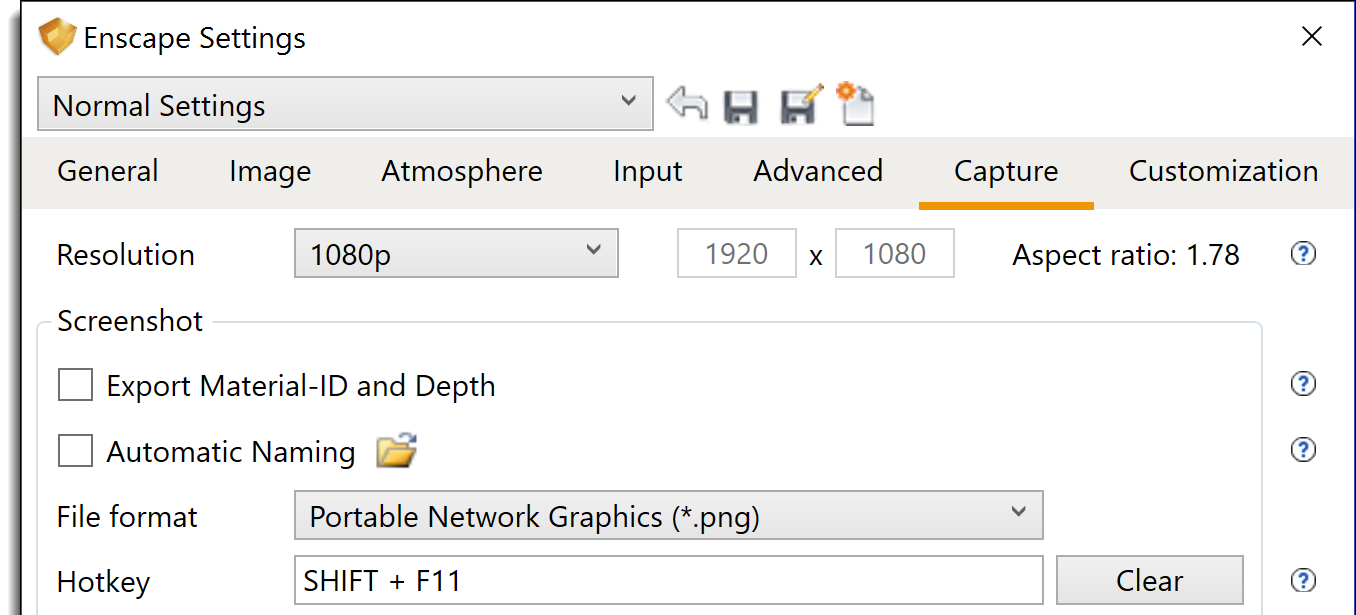
Screenshot settings
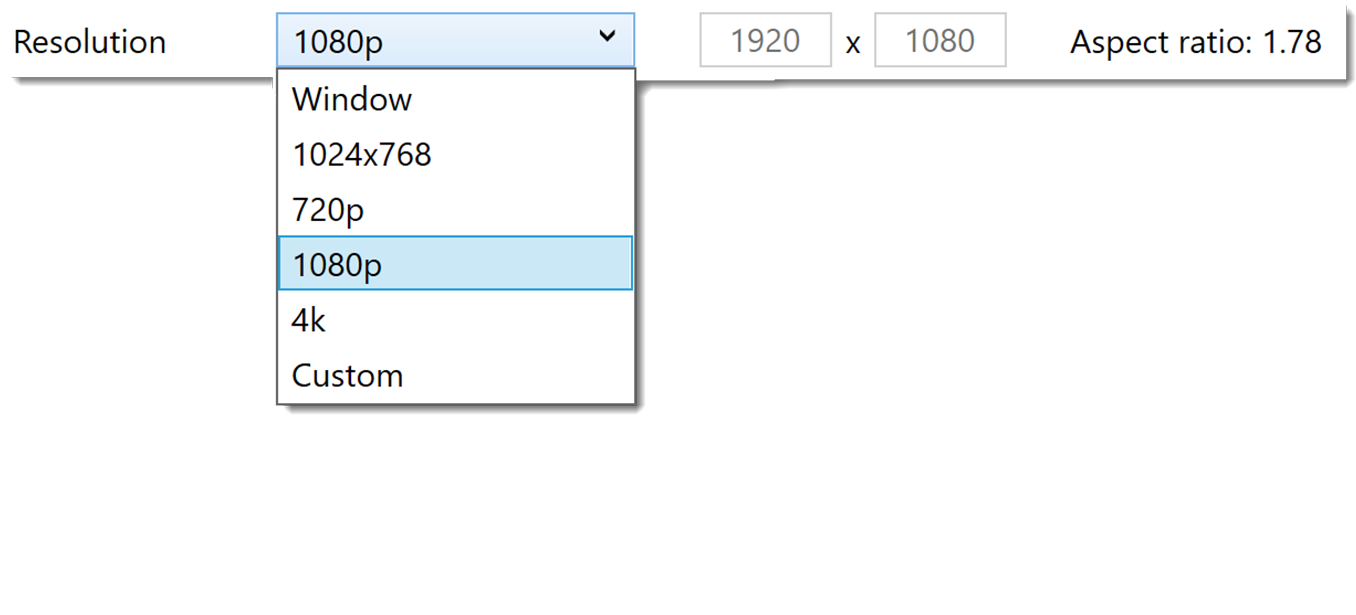
Screenshot resolution
Selecting Custom allows us to enter any resolution up to 8192 x 8192 Pixels. The last two book updates, and for the next, I have used high-quality Enscape rendered images for the cover of my Revit textbooks. For a printed book cover the resolution needs to be very high, so it is set to 2588 x 3375. The combination of an Enscape image and a high quality printed book cover is really amazing, as shown in one example below.
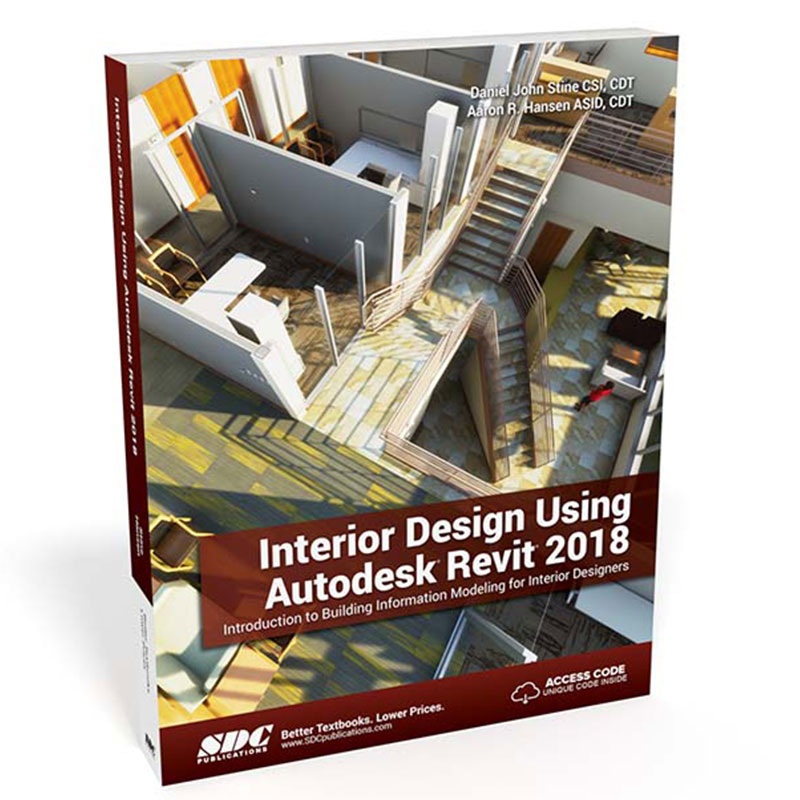
High quality still image for press printing
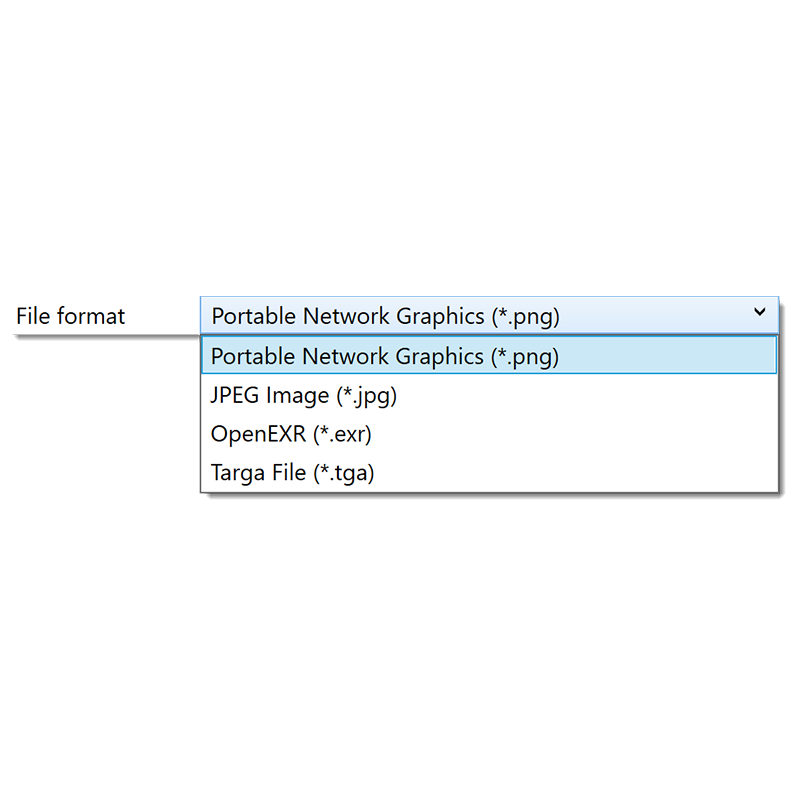
Screenshot file format
The file format can also be selected when creating screenshots. The default is PNG, which is what I usually use.
A few other screenshot-related settings to keep in mind…
Keyboard shortcut
Be sure to take advantage of the Keyboard Shortcut. When composing a scene in Enscape, it is a lot easier to use the keyboard shortcut than go back over to Revit and click Screenshot (especially, seeing as the current tab on the Ribbon often changes to the Modify tab).
Material ID and Depth
Use this option to create a background depth mask and material ID layer. This can be used in an image editing application, such as Photoshop, to replace the background using a masking layer. When this option is checked, Enscape creates three image files as demonstrated below.

Automatic Naming
Use this option to easily create images in a rapid-fire fashion. No need to stop and specify a name and location of the image file about to be created.
Screenshot (As Rendering)
This is the only export option that is unique to Revit. Compared to the Screenshot (to File) option, rather than saving a still image to file, this feature saves the same information within Revit, as a Rendering. This is the same thing Revit does when using the ‘Save to Project’ button via its rendering dialog. The results, from using this Enscape feature, can be seen in the Project Browser, as shown in the image below. A rendering can then be placed (via drag & drop) on a sheet and resized.
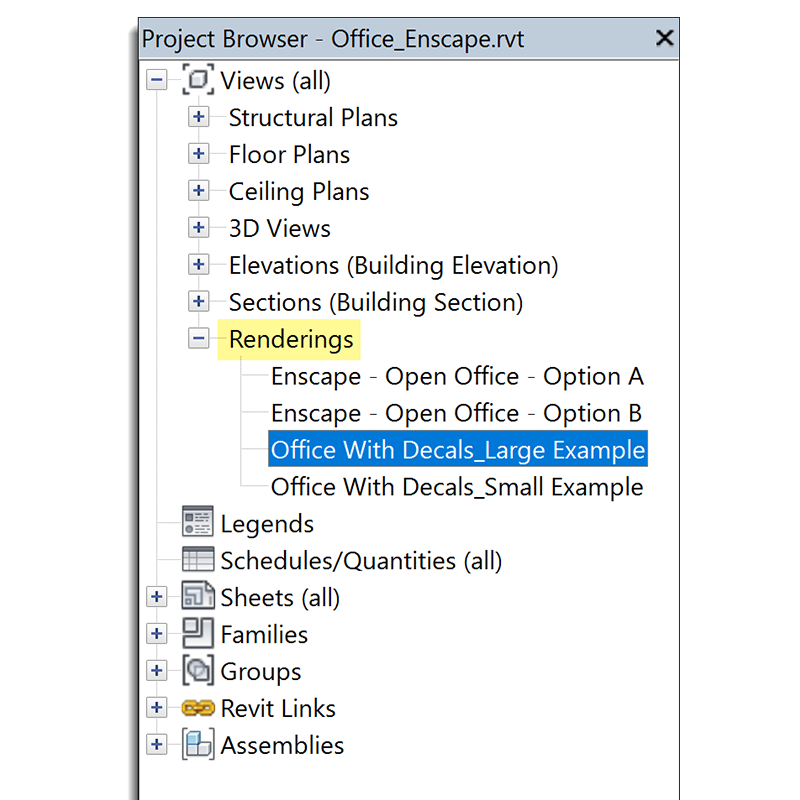
Revit Project Browser; Renderings

Here are the Revit properties for the two sample images shown above – Compare size of Enscape generated images
Export EXE
To me, this is such an amazing gift from Enscape; they take the core-engine of their software, along with your model, and package it up royalty-free to share with the world! While we don’t have some controls found in the Enscape Settings dialog or these export options, we have a fully navigable model.
Not only that, but as mentioned at the beginning of this article, we can even save a VR ready EXE file. The only catch here is that it is one or the other right now. Meaning, the model can either be used in VR or explored manually; but not both from the same EXE. Thus, I like to export the model twice and name them accordingly – as shown below. I also like to include the Enscape version number, at least for my go-to sample projects. I want to keep those up-to-date so my demos always use the latest version of Enscapes technology.

Export to EXE
I recently shared an Enscape generated EXE with someone who works in the VR world (but not directly in the AEC sector). The model was from my Interior Design using Autodesk Revit 2018 textbook, and had my custom RPC in it (mentioned in this post). This person actually asked me if I used 3D cameras to create the architectural VR experience! This building does not exist, anywhere! It is totally made up for my books. That is how awesome the Enscape experience comes across to those outside of the AEC space, not familiar with Enscape; think, clients!
Surprisingly, the EXE file size is not extremely large. In this example, the 164MB files include my two-story office building (126MB Revit model, including structure and MEP) and the Enscape engine. Very reasonable.
Export Video
Enscape has been able to create very nice videos for a while now. If you can read a great LinkedIn post by Enscape reseller Phil Read, from Read | Thomas, called: Recreating Ten Classic Camera Moves In Revit with Enscape.
Recent developments have taken the two-point animation, where we could only define the beginning and end locations, and expanded the opportunity to define a continuous winding path through your project. And, are you ready for this; the first selectable element within the Enscape environment! We can select cameras and reposition them along the previously defined path.
The path and the cameras appear in Enscape as seen in this image…

Video path shown in Enscape with camera locations highlighted
Here is a link to the fully rendered path, using Export Video, which results in an MP4 file: Enscape Sample Video Export_1080p. Super cool! I can use so many adjectives, as I don’t work for Enscape. Although, I bet they use them too?
TIP: Turn off Enscapes Motion Blur for noticeably better video quality.
In the Enscape Settings dialog we have adjustments related to the quality and Duration of the video. Like still images, exported videos can be at the current ‘screen’ resolution up to 1080p. Enscape can even go higher than 1080p but I don’t recommend it as most televisions and even the best graphics cards have a hard time playing those videos – believe me, as I have tried; even on a large 4k flat screen. Stay tuned for a post dedicated to all the ins and outs on the new Camera Path features in Enscape!
TIP: For marketing, these videos often play very well from a flash-drive, directly plugged into a TV.

Video settings
Take Panorama (Mono)
Exporting a panorama is one of the most cost-effective ways to share an immersive 3D Enscape experience. It is something between a still image and a VR/navigable environment; where the former may be limiting in some cases and the latter requires a certain level of quality computer hardware. A Panorama is a fully rendered, fixed point in space, where we can look around in all directions. This can be done on your computer where you use your mouse to look around, or on a mobile device, where, when combined with a Google Cardboard Viewer, the user is immersed in the design. With a cardboard viewer in hand, you can send links, hosted by Enscape online, where your clients can view key portions of the design and potentially sign off on proposed solutions much earlier than in the past.
TIP: You can take this experience even further if you use a tool like Krpano to stitch individual panoramas together.
For a Mono Panorama example: Click here

A Google Cardboard-type viewer is inexpensive and easy to use (LHB’er Megan R.)
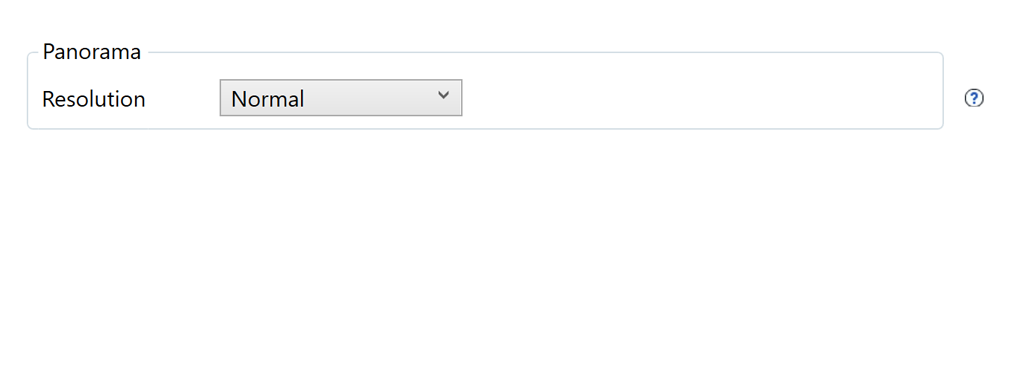
Panorama settings
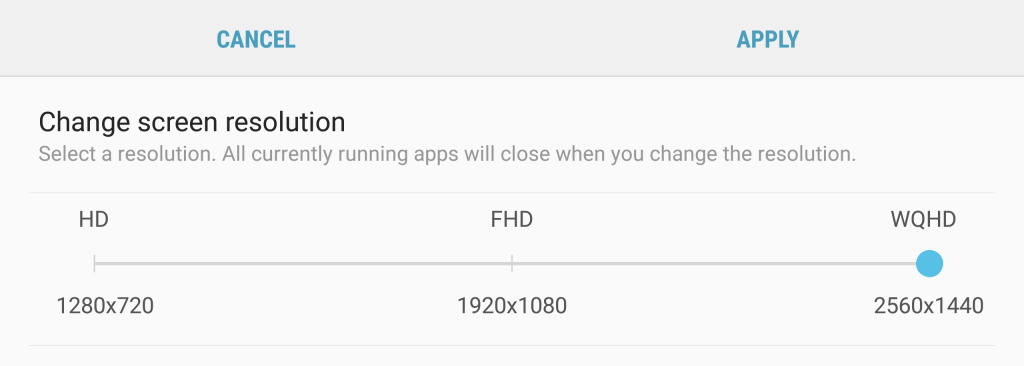
Mobile device: display settings example
When you click the link to open a pano or scan a QR code, this is what you see at first. A single image where you can move your phone around to see the entire space from the prescribed vantage point, even without a cardboard viewer. Notice the two icons in the lower right; switch to cardboard mode and full-screen mode.

Mobile device display: initial Enscape panorama view
When you switch into cardboard mode, be sure to select your viewer via the gear icon positioned at the bottom, center, of the screen. Try both to see which works best for your viewer.
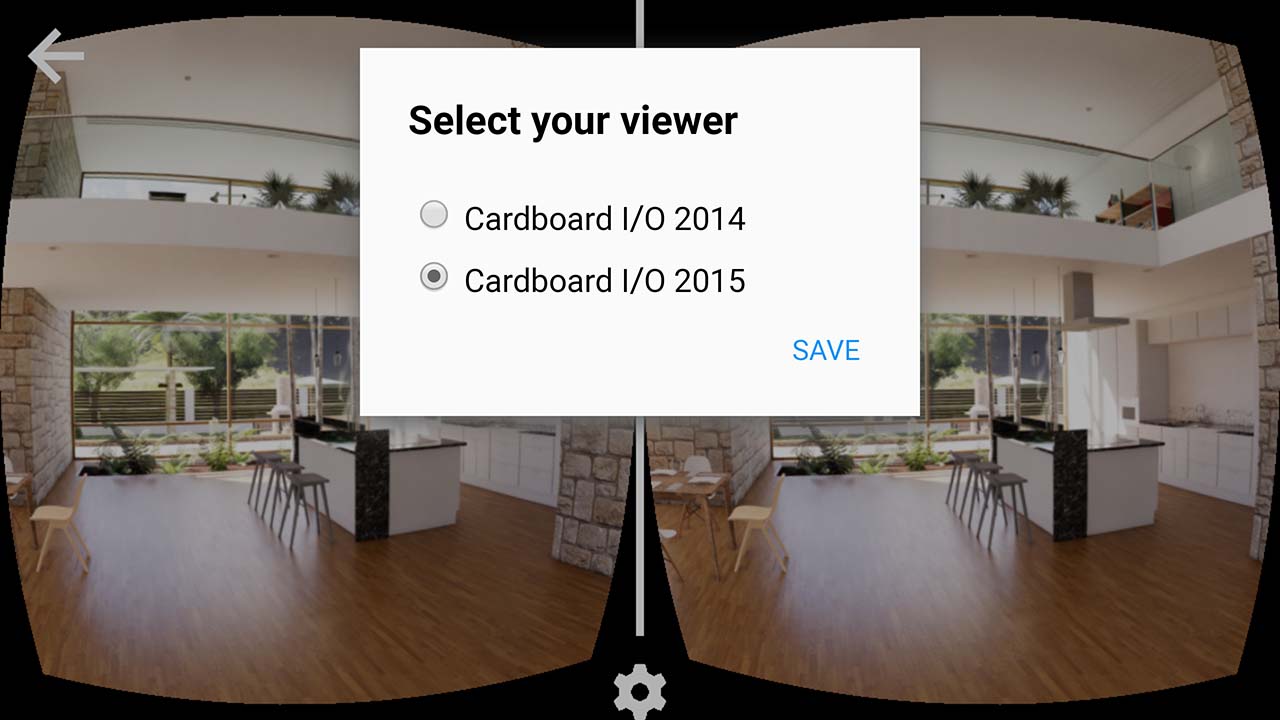
Mobile device display: cardboard viewer settings via gear icon
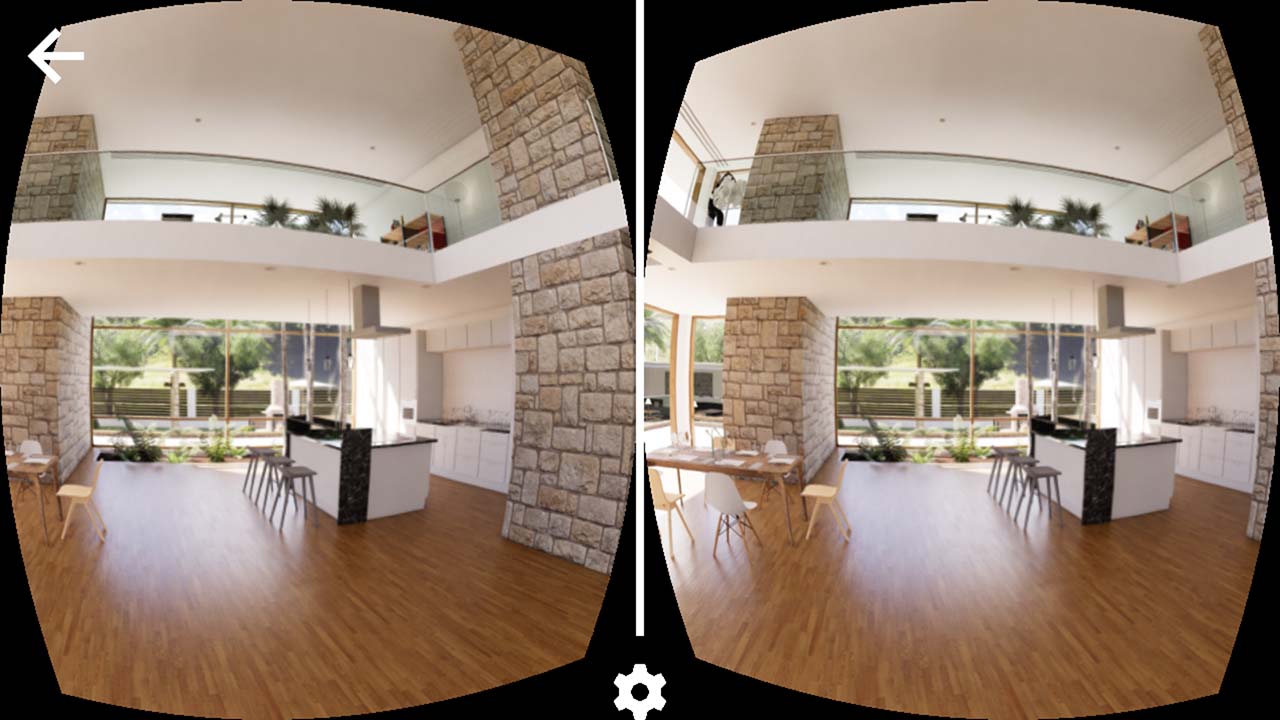
Mobile device display: ready to be placed in viewer
In cardboard viewer mode, there is one image for each eye. With this first mono export option, the two images are exactly the same. In case it’s not clear, this is how the mobile device is positioned in the cardboard viewer…
Take Panorama (Stereo)
This brings us to the last export option; a stereo panorama. As the name implies, the cardboard view mode has two images that are slightly offset from each other. Everything else about the two pano options is exactly the same.
The next two images compare a downloaded Enscape panorama from the same vantage point; one Mono and the other Stereo. The second image, the stereo version, I added two vertical lines to highlight the fact that the two images are not exactly the same. This helps to simulate depth, just like our brain does based on the spacing between your eyes. Speaking of that, a better cardboard viewer will have the ability to adjust the eye spacing to make it compatible for each user. The example viewer shown below is a branded viewer my firm made to share with clients!
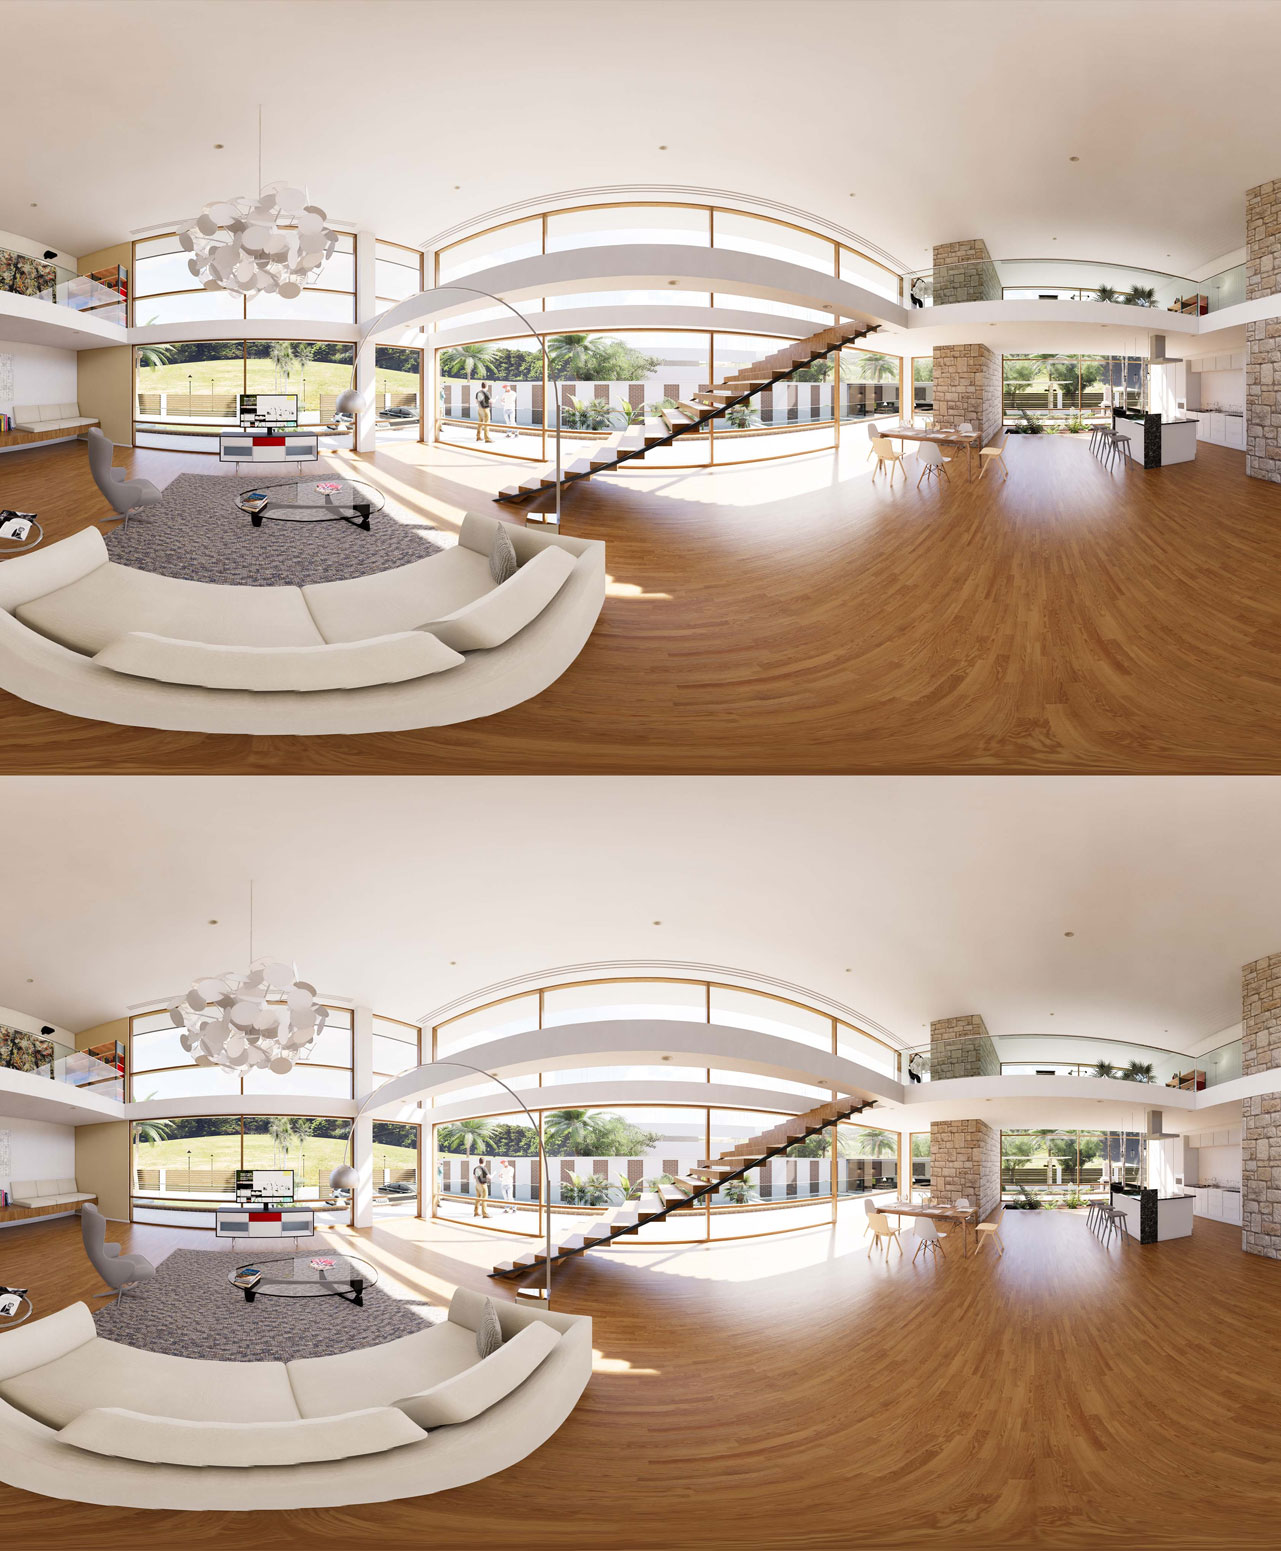
Downloaded ‘Stereo’ example
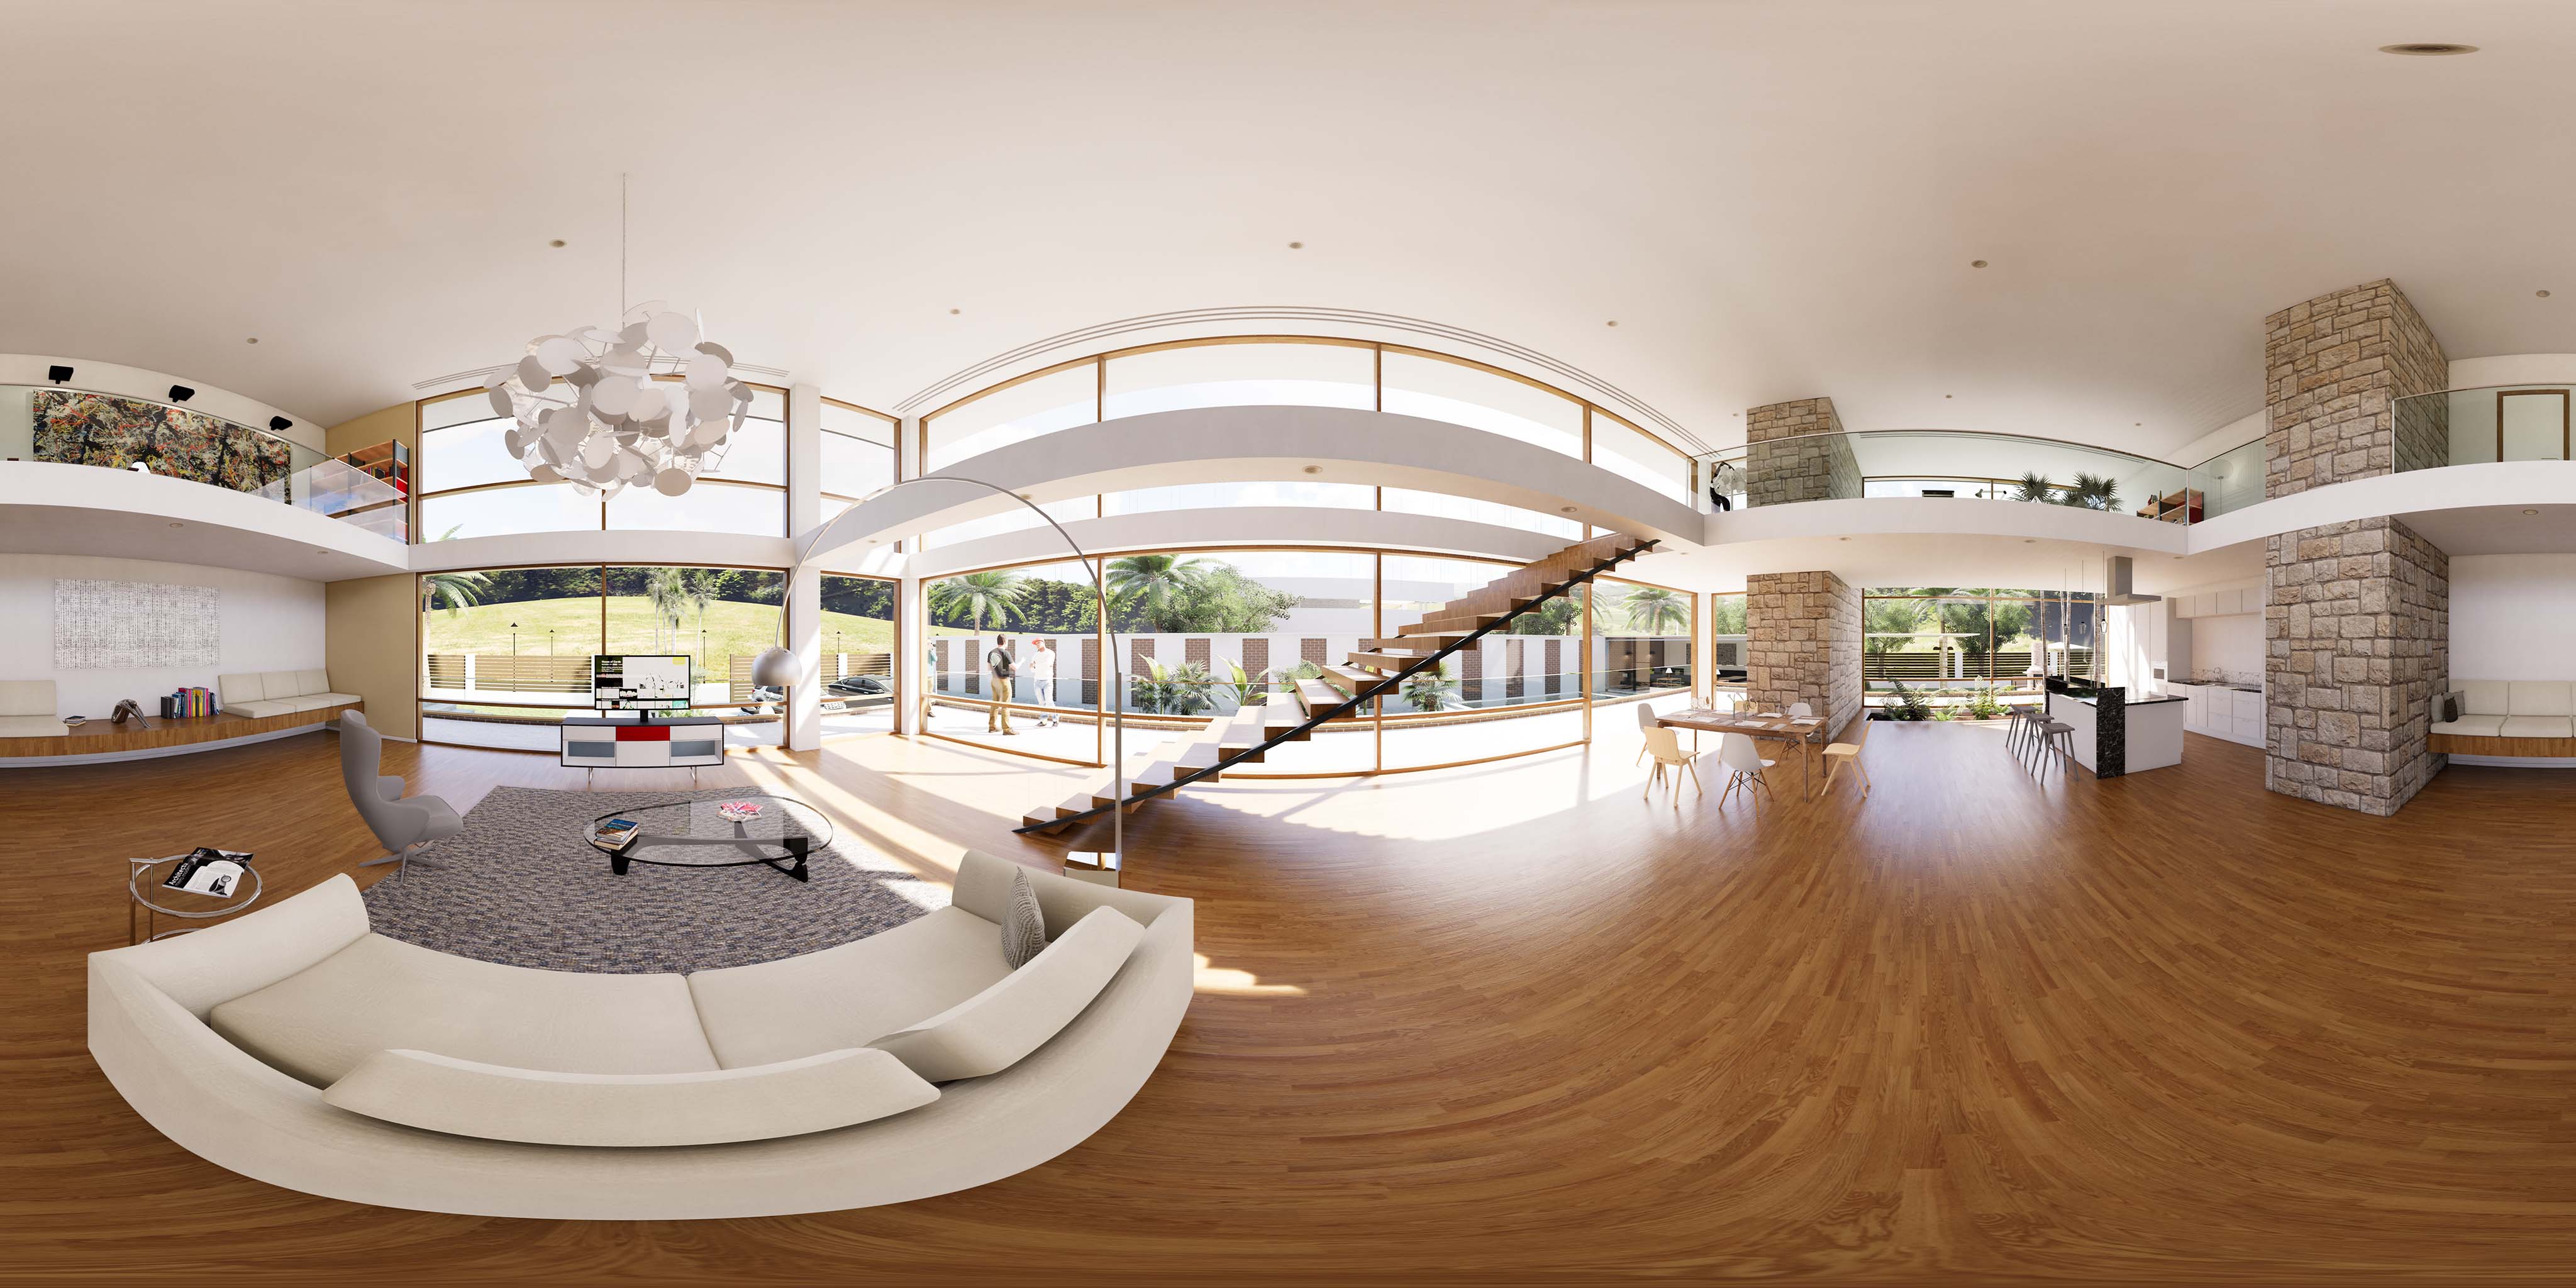
Downloaded ‘Mono’ example
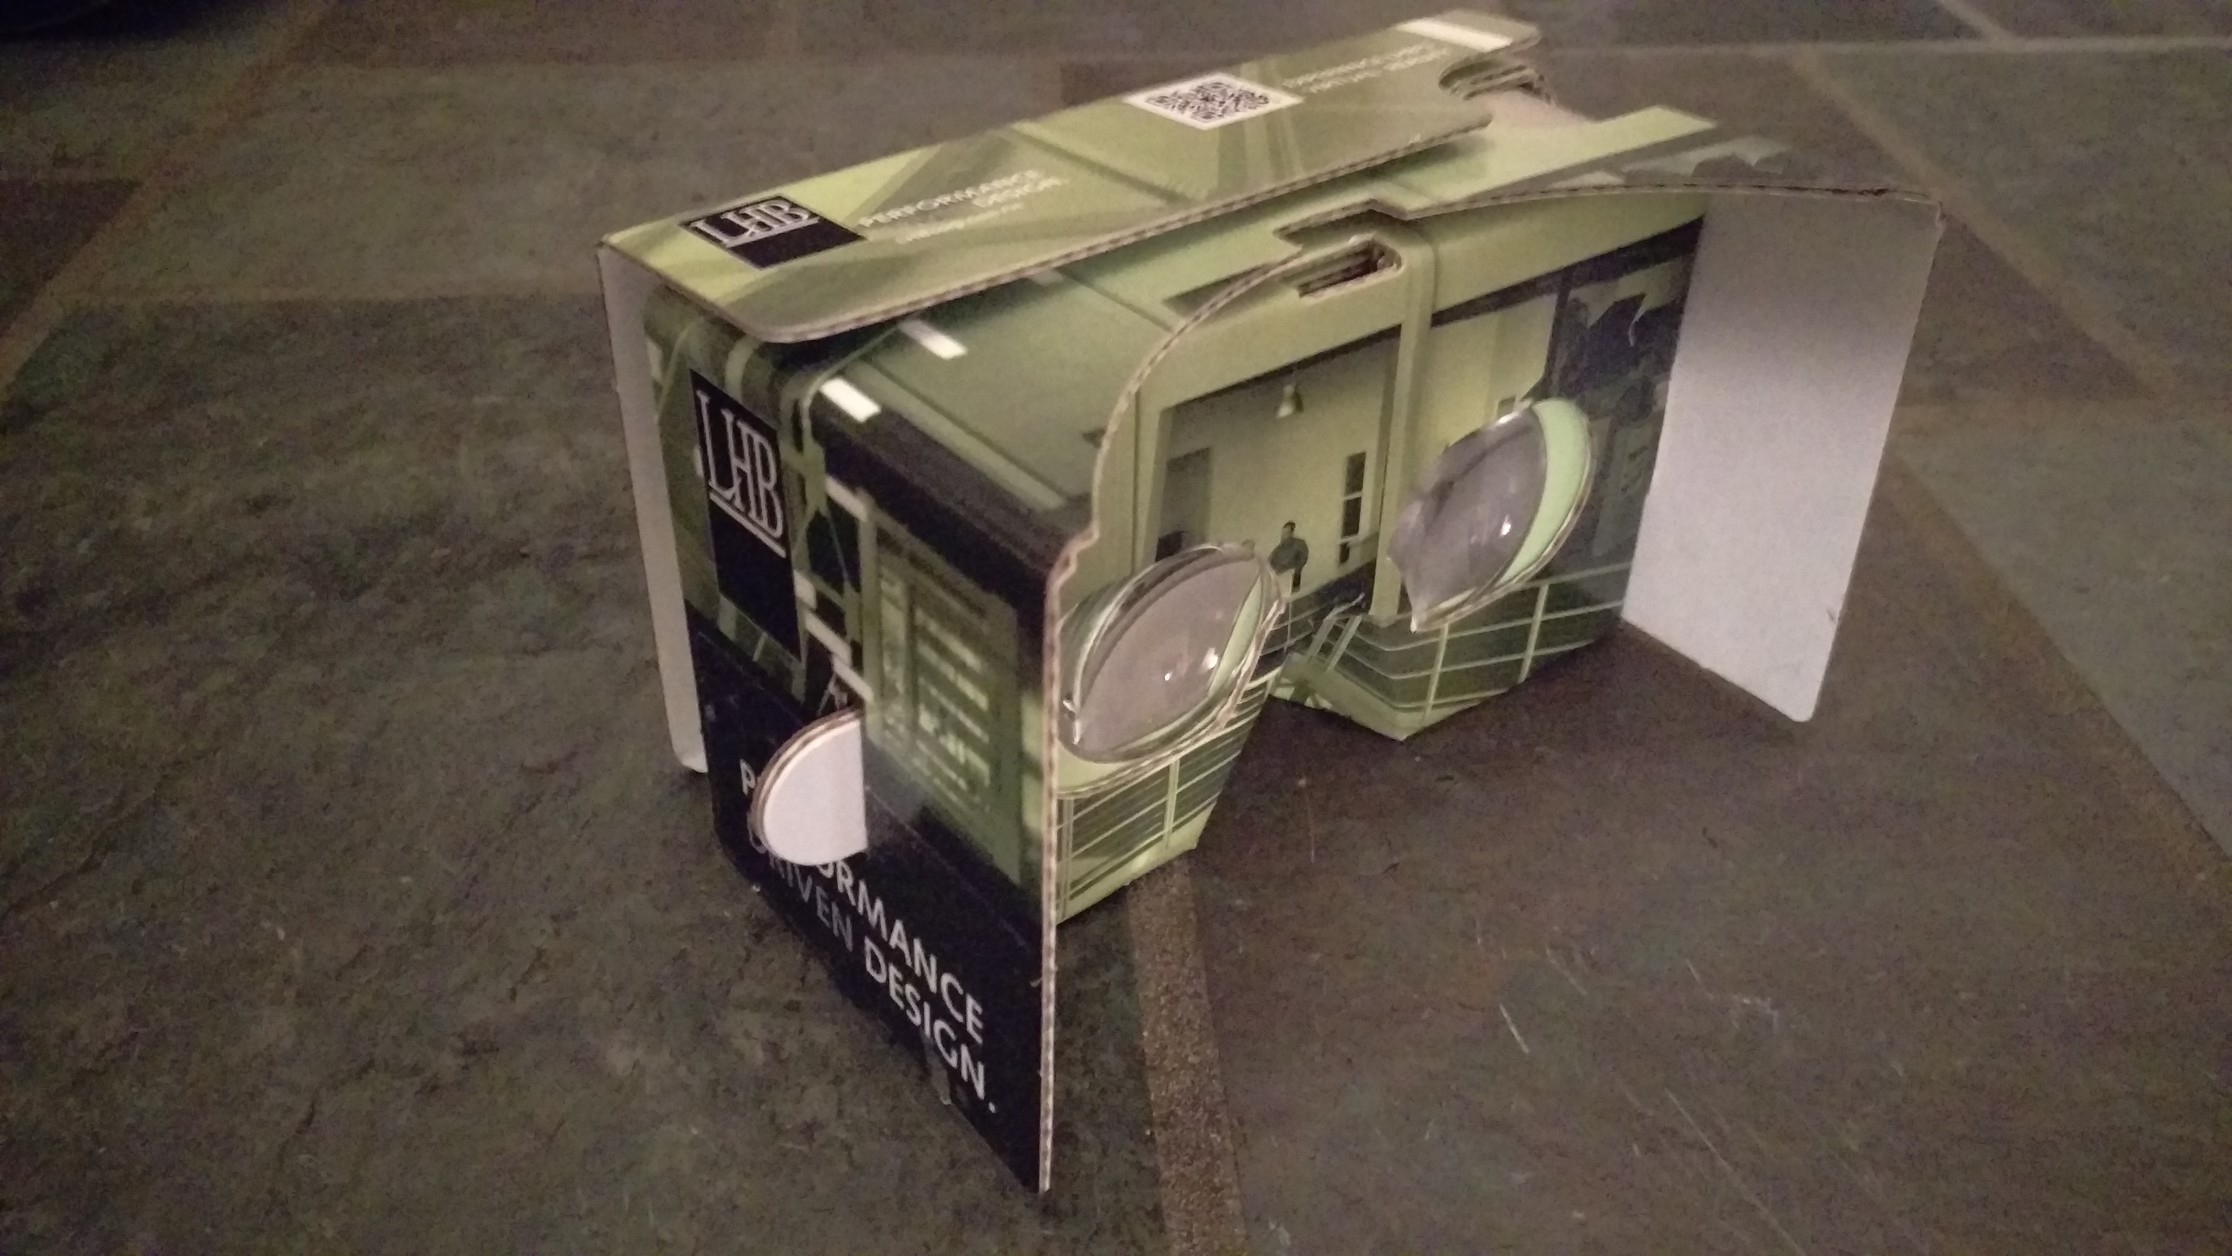
Cardboard viewer with adjustable eye position tabs on each side
For a Stereo Panorama example: Click here
Finally, all your panoramas, stored locally and in the cloud, can be managed from Enscapes “My Panoramas” dialog. Here you can preview, delete, upload to cloud, download image and download QR code image.

The My Panoramas dialog organizes all your pano exports
Conclusion
Now you have a good grasp of all the export options within Enscape. On the surface, this real-time visualization tool is super simple and easy to use. And, when you stop and look a little deeper, you will see there are many additional opportunities to collaborate with the design team and engage clients and stakeholders. Not that they are difficult or hard to use, but in my experience, many people have not taken the time to give them a try. With the inspiration of this post, you can now give these many export options a try and even impress your colleagues and supervisor!

Dan Stine
He is an Author, Blogger, Educator,
BIM Administrator and Wisconsin registered architect.
He works full-time at LHB – a 250 person full-service design firm.
He is an Author, Blogger, Educator,
BIM Administrator and Wisconsin registered architect.
He works full-time at LHB – a 250 person full-service design firm.
LinkedIn – https://www.linkedin.com/in/danstinemn