7 Essential Steps to Creating Realistic Renderings
As an architect and 3D artist, I have always been fascinated by creative processes and architectural representation, both analog and digital. In the field of digital tools, I was missing a renderer, namely a real-time renderer, that could keep up with the speed of my thoughts. So, I started using Enscape to meet that need. Now, in addition to visualizing projects while I am designing them, I can create amazing images at the same time to show the results.
This is a basic guide to show you my step-by-step process for creating realistic renderings using Enscape.
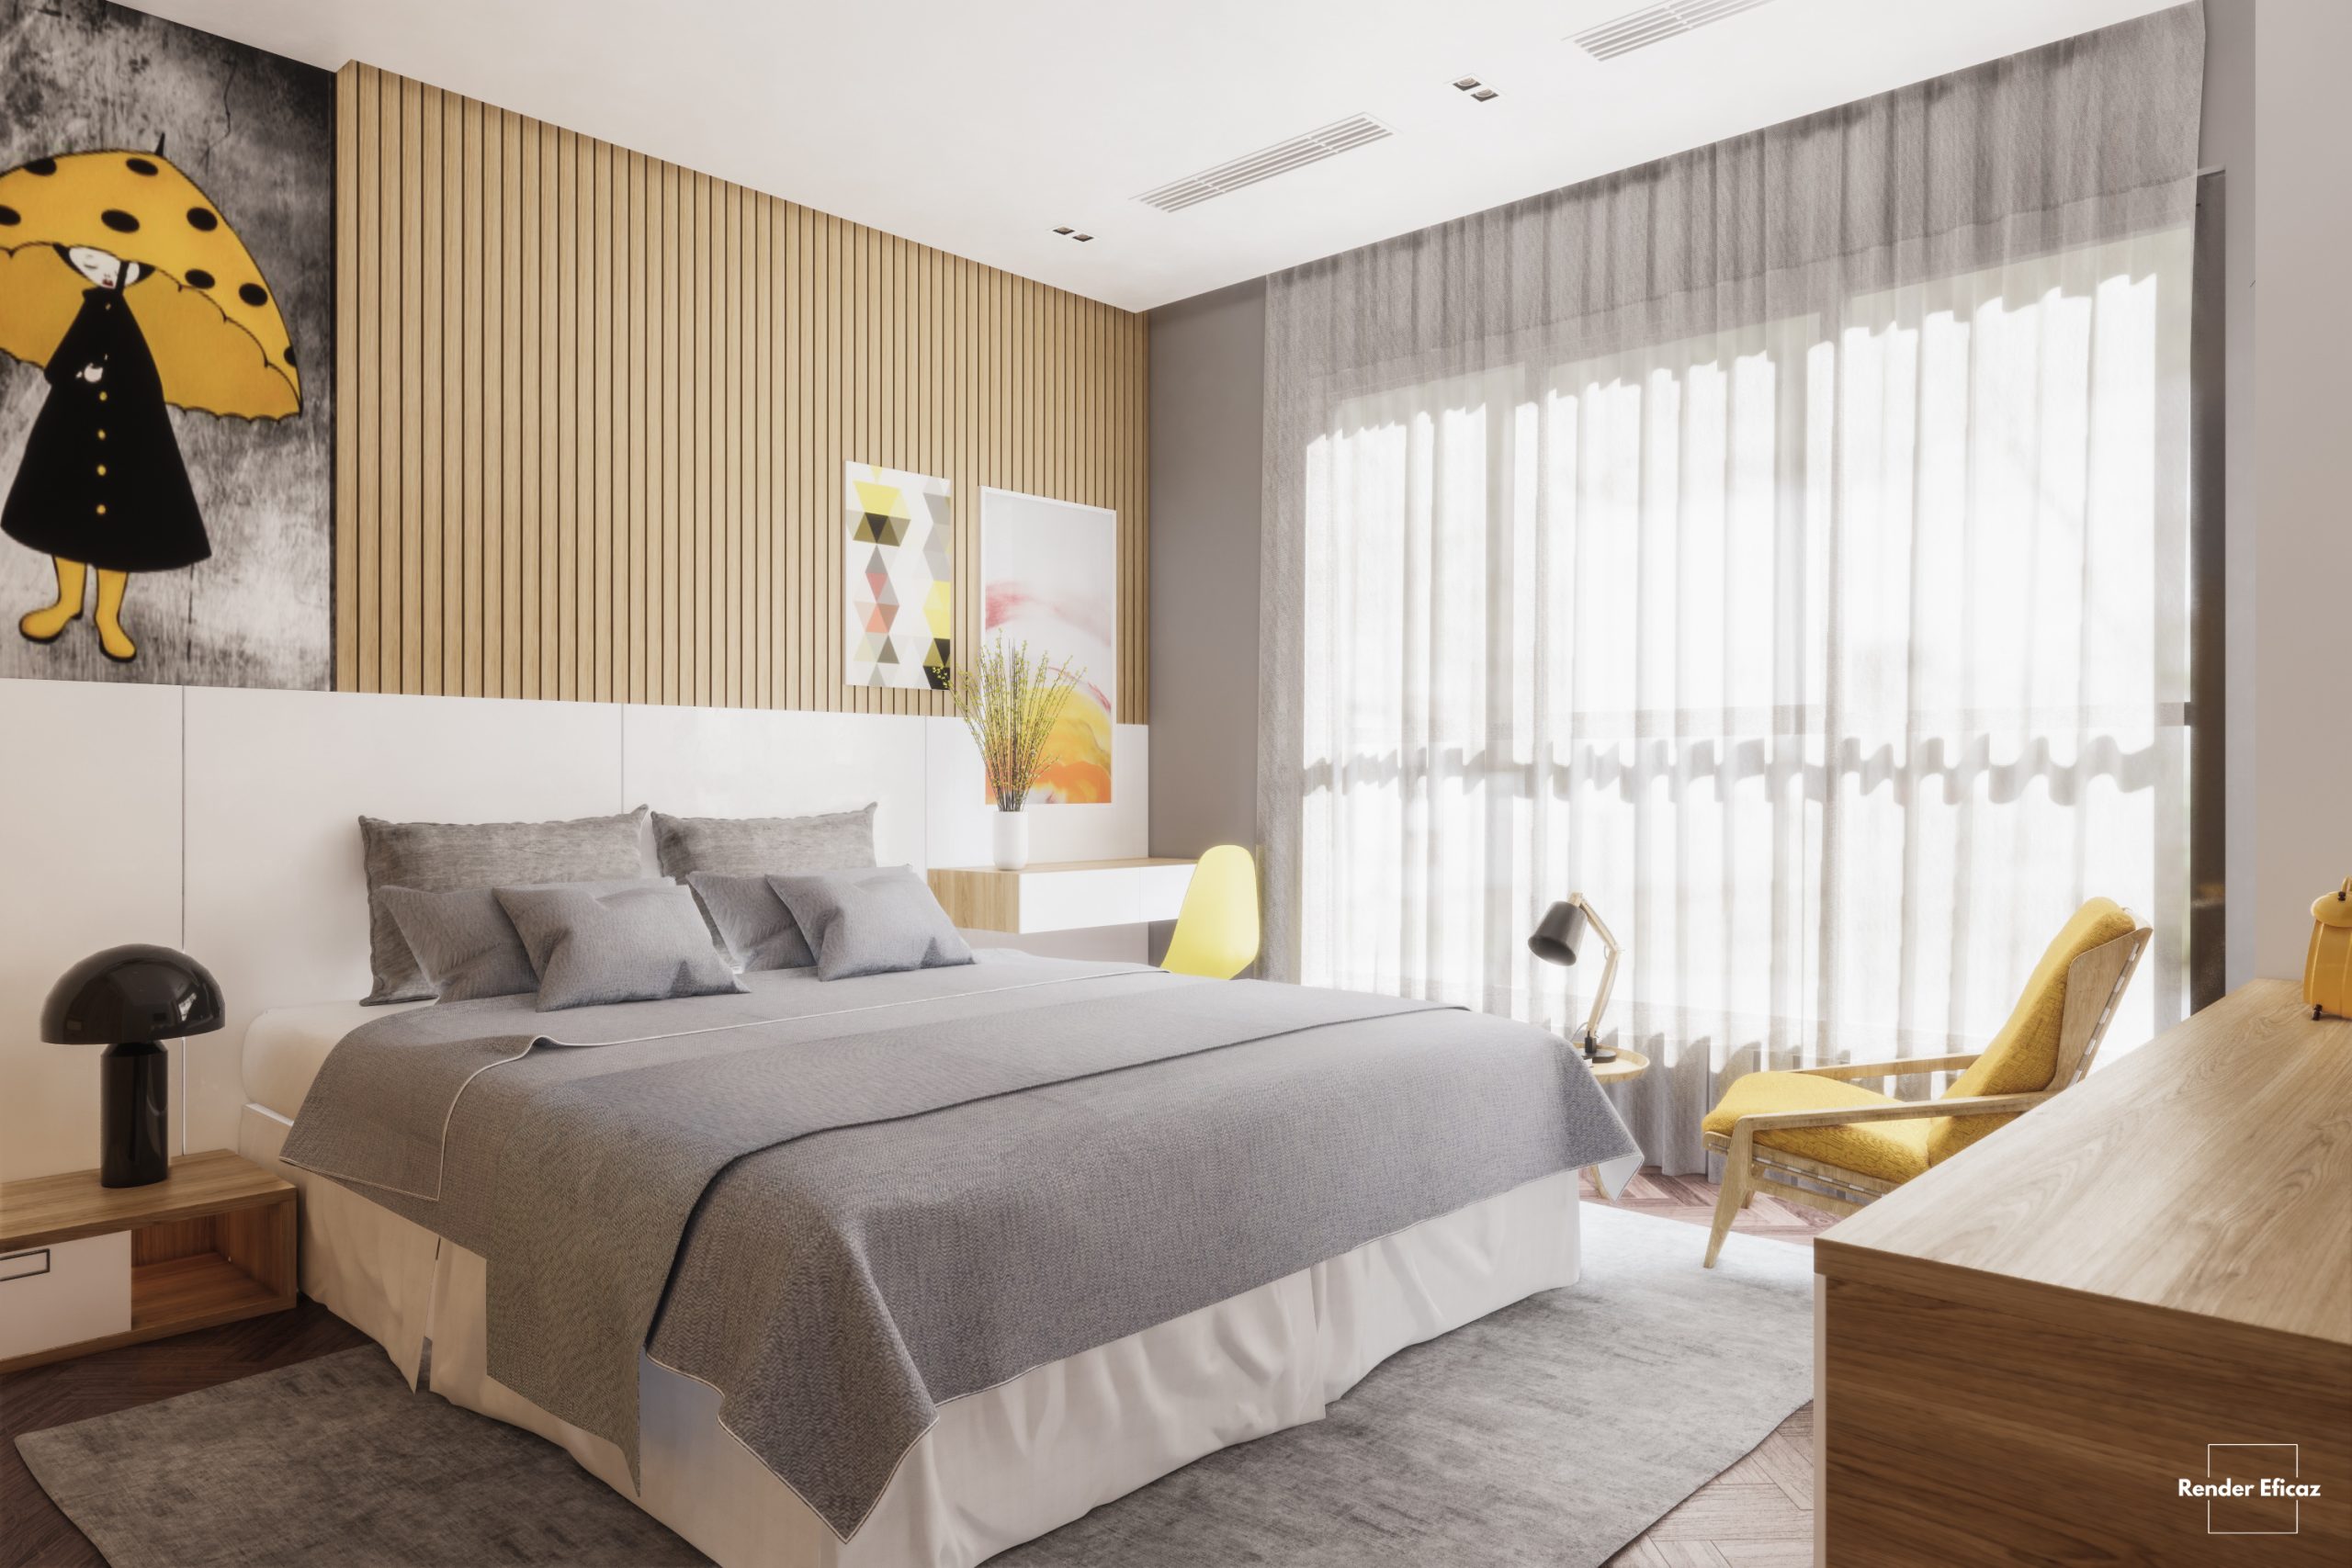
1 – Visual References - Think like a photographer
Visual references are critical at any time during the creation process: whether at the beginning, to draw strengths or lessons from an existing building, or to gain inspiration from a trend or artistic movement. When it comes to the scope of realistic renderings, I like to study architectural photographers, analyzing how they think of a photo in terms of framing, composition, lighting and colors. For that, I usually visit the websites like archdaily.com, not only to see projects from all around the world, but also to check how photographers portray architectural works. Almost every project on Archdaily has a specs list which includes the photographer’s name. Go there and check them!
2 – Modeling – Attention to detail never hurts
This is a crucial aspect. No matter how awesome your rendering configuration is, if your model is of poor-quality, your result will be as well. The way I like to organize this topic is to think from macro to micro. That is, I start with global organizations such as layers, components, blocks and large elements and then go deeper into smaller details. Working with this careful mindset will keep you organized and safe from crashes, even if you are creating entire 3D cities.
On this house, I made the plants proxies; this way, by editing just one of them, I edited the whole garden.
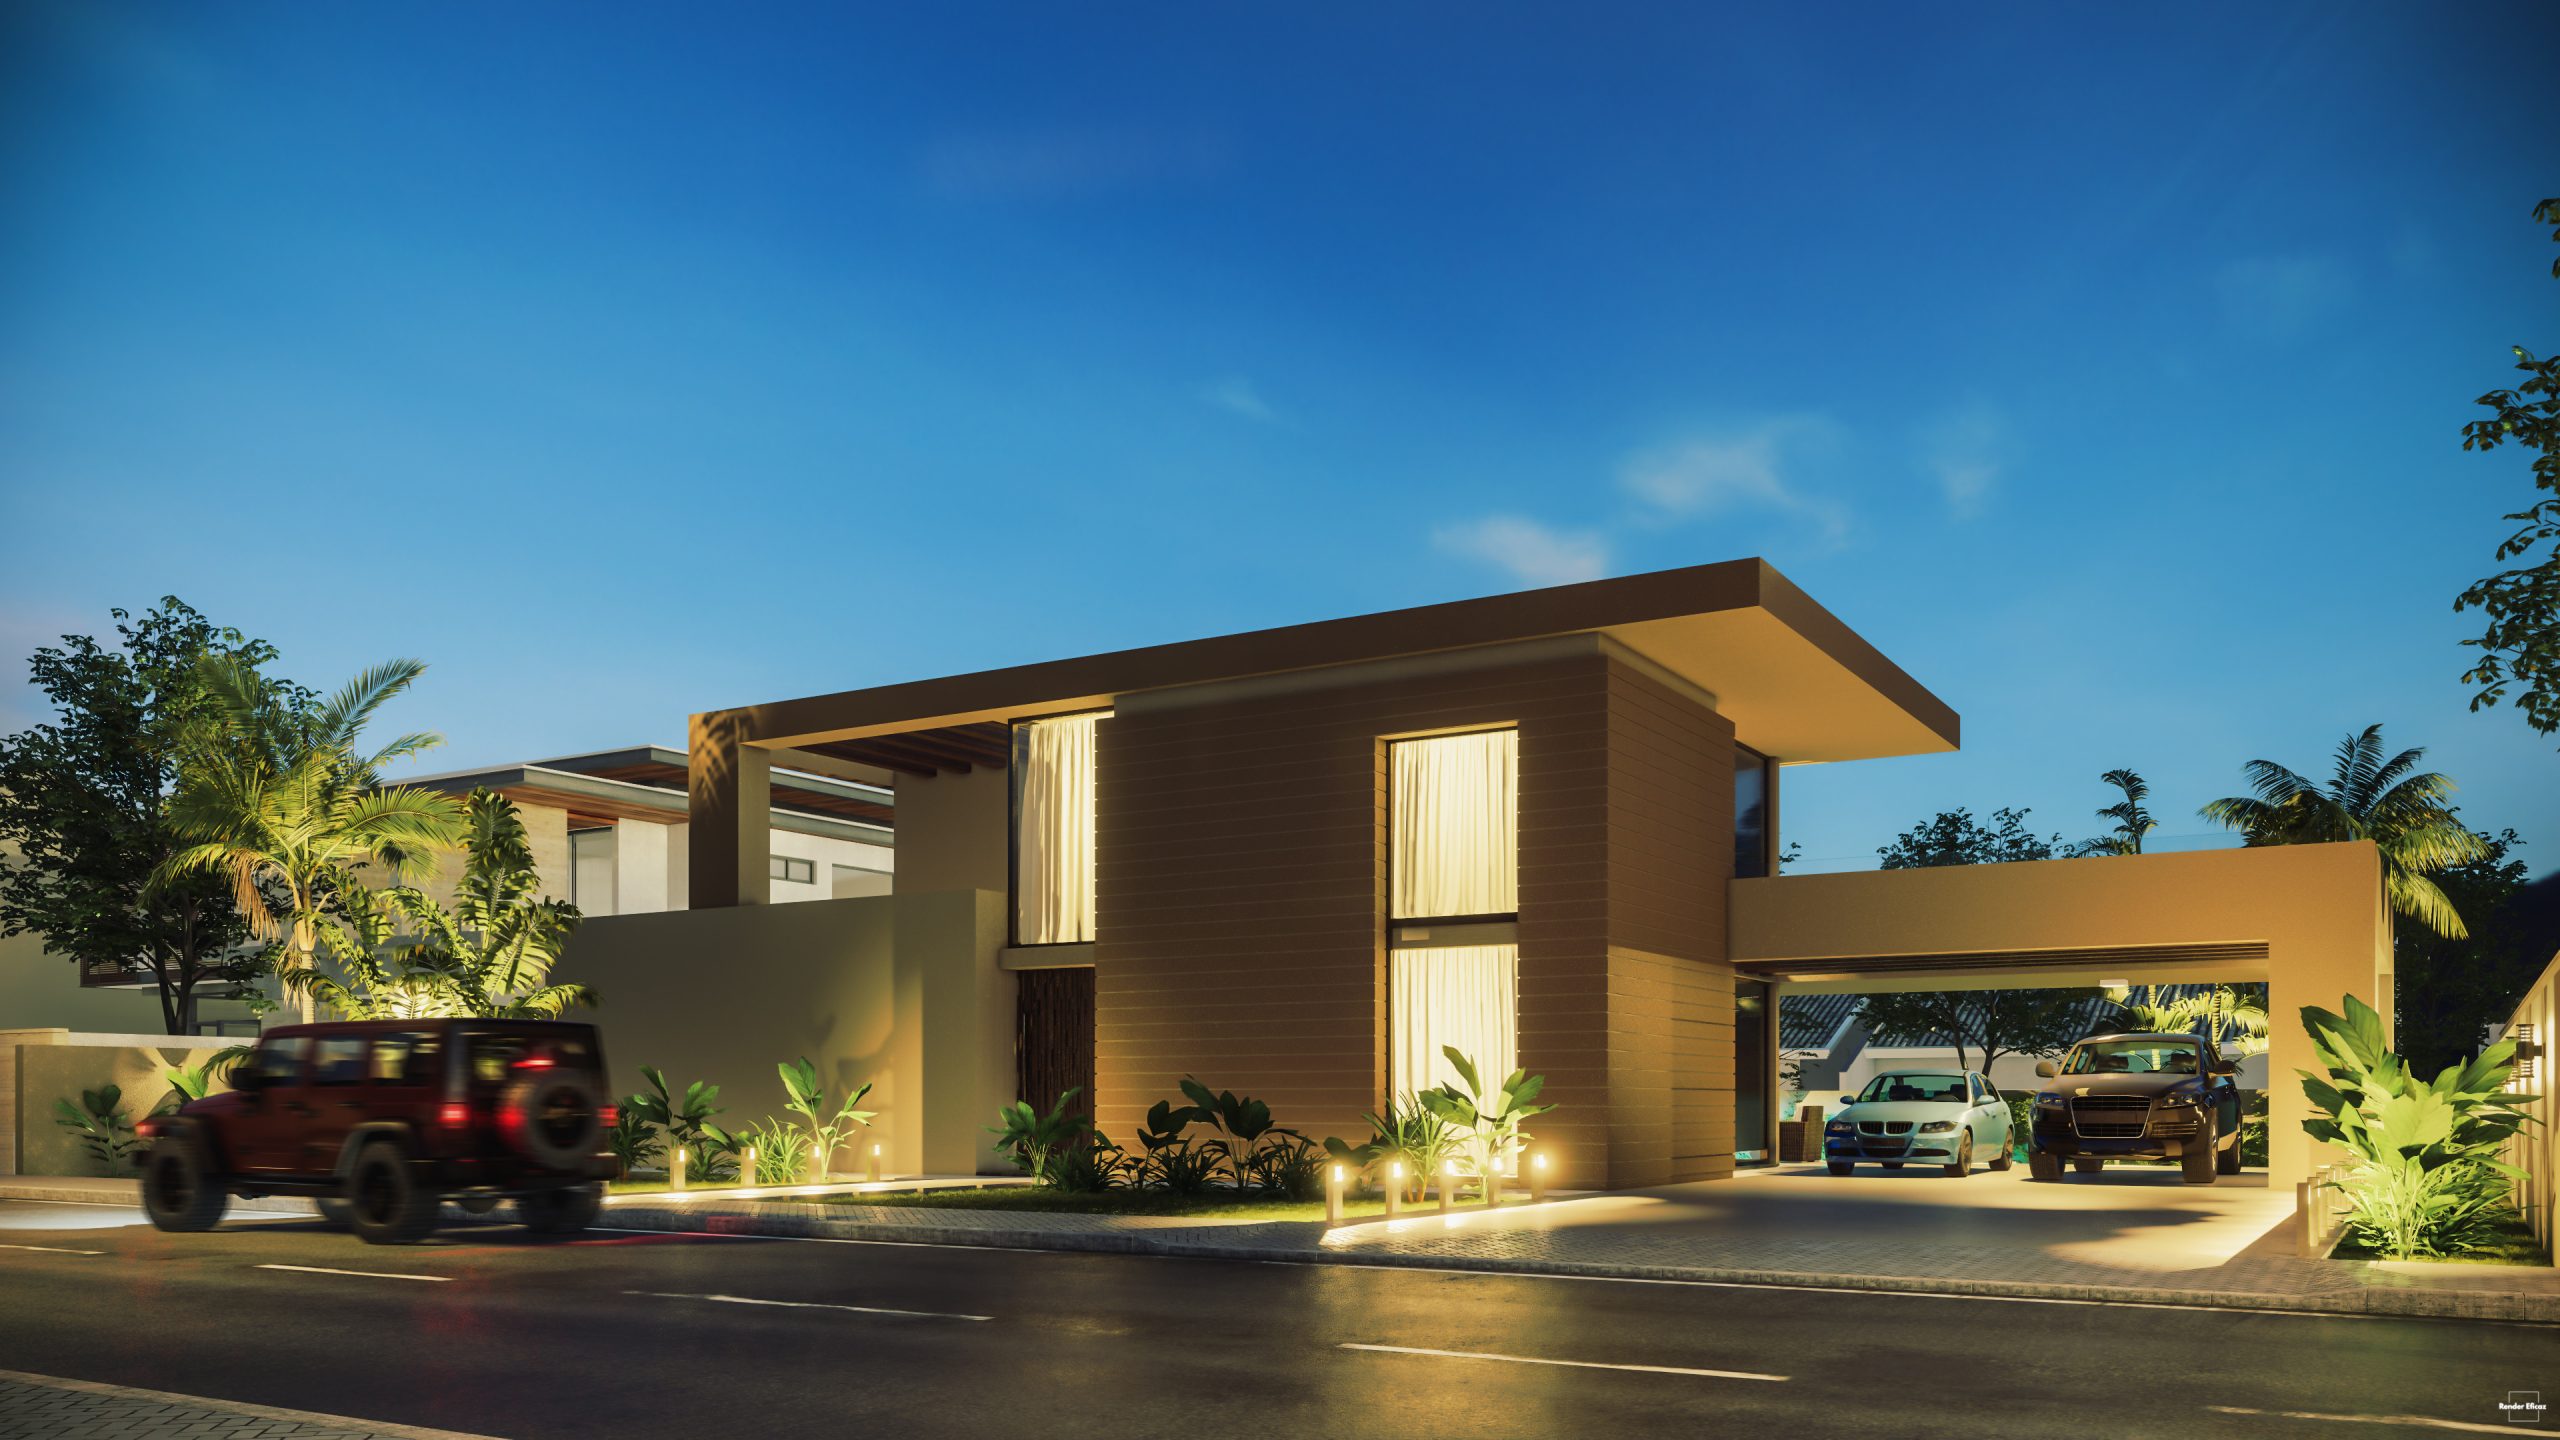
3 - Blocks - Invest time in them
Your choice of blocks is also crucial to capturing good images. Attention to details like geometry, texturing and optimization are essential. However, detailed, high-quality blocks can weigh down your model. For this reason it’s useful that you know how to work with proxies. In Enscape for Sketchup, for example, you can import already-edited proxies. Alternatively, you can edit them in the same file you are working on and export them.
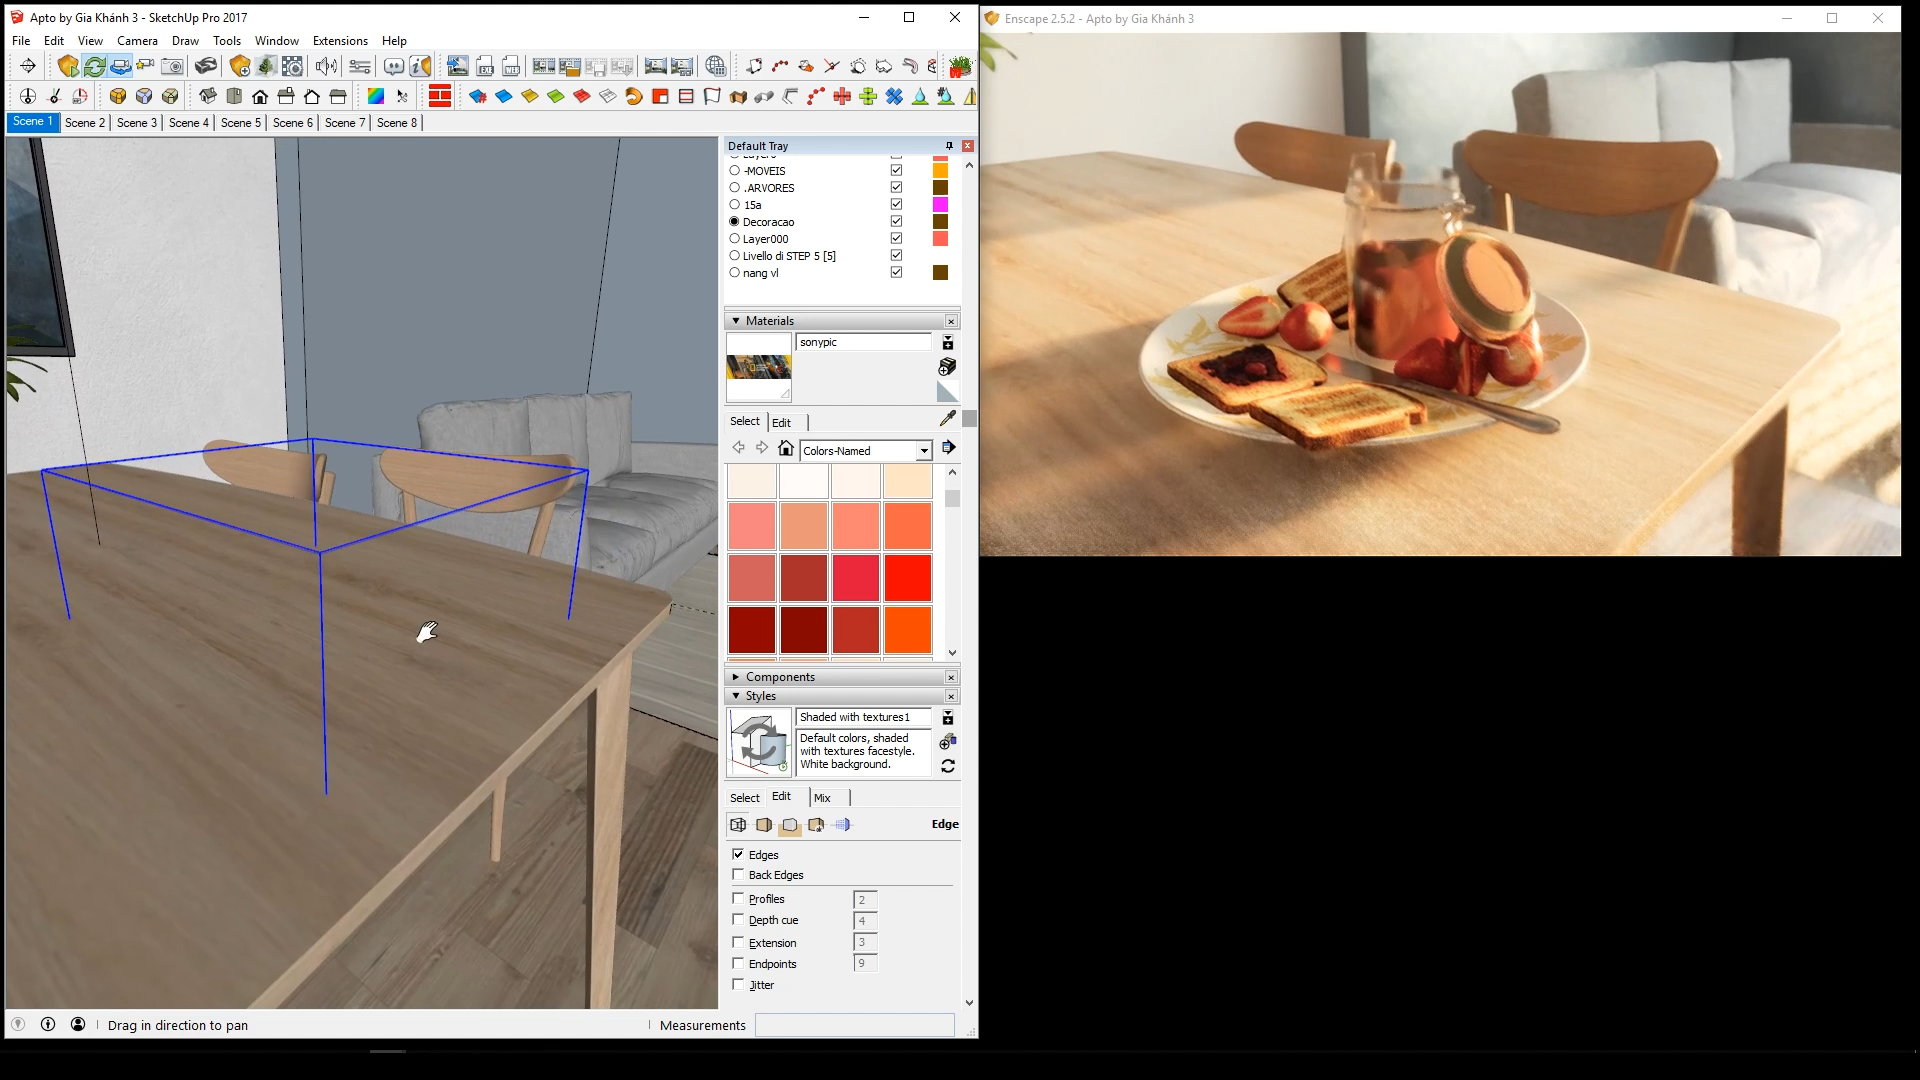
Left: model with a proxy file. Right: the rendered proxy.
4 - Lighting - Observe how it works in reality
Whether it is natural or artificial lighting, one of the key points to achieve good results is understanding how the balance between light and dark works. This is apparent in the architectural visualizations and real-world examples you looked at in the first step, and something I consider fundamental. Regardless of which lighting system you use, or whether you are creating a day or a night scene, carefully consider the following topics:
- How clear is the sky at a certain time of day?
- How dark is a shadow at noon or 6 pm?
- How hard or soft is a shadow according to each lighting system?
Understanding the elements that make up the lighting of a 3D scene is indispensable for making good renderings. The observation and consideration of each element of a photograph will help you reproduce natural or artificial light in a virtual environment with more realism.
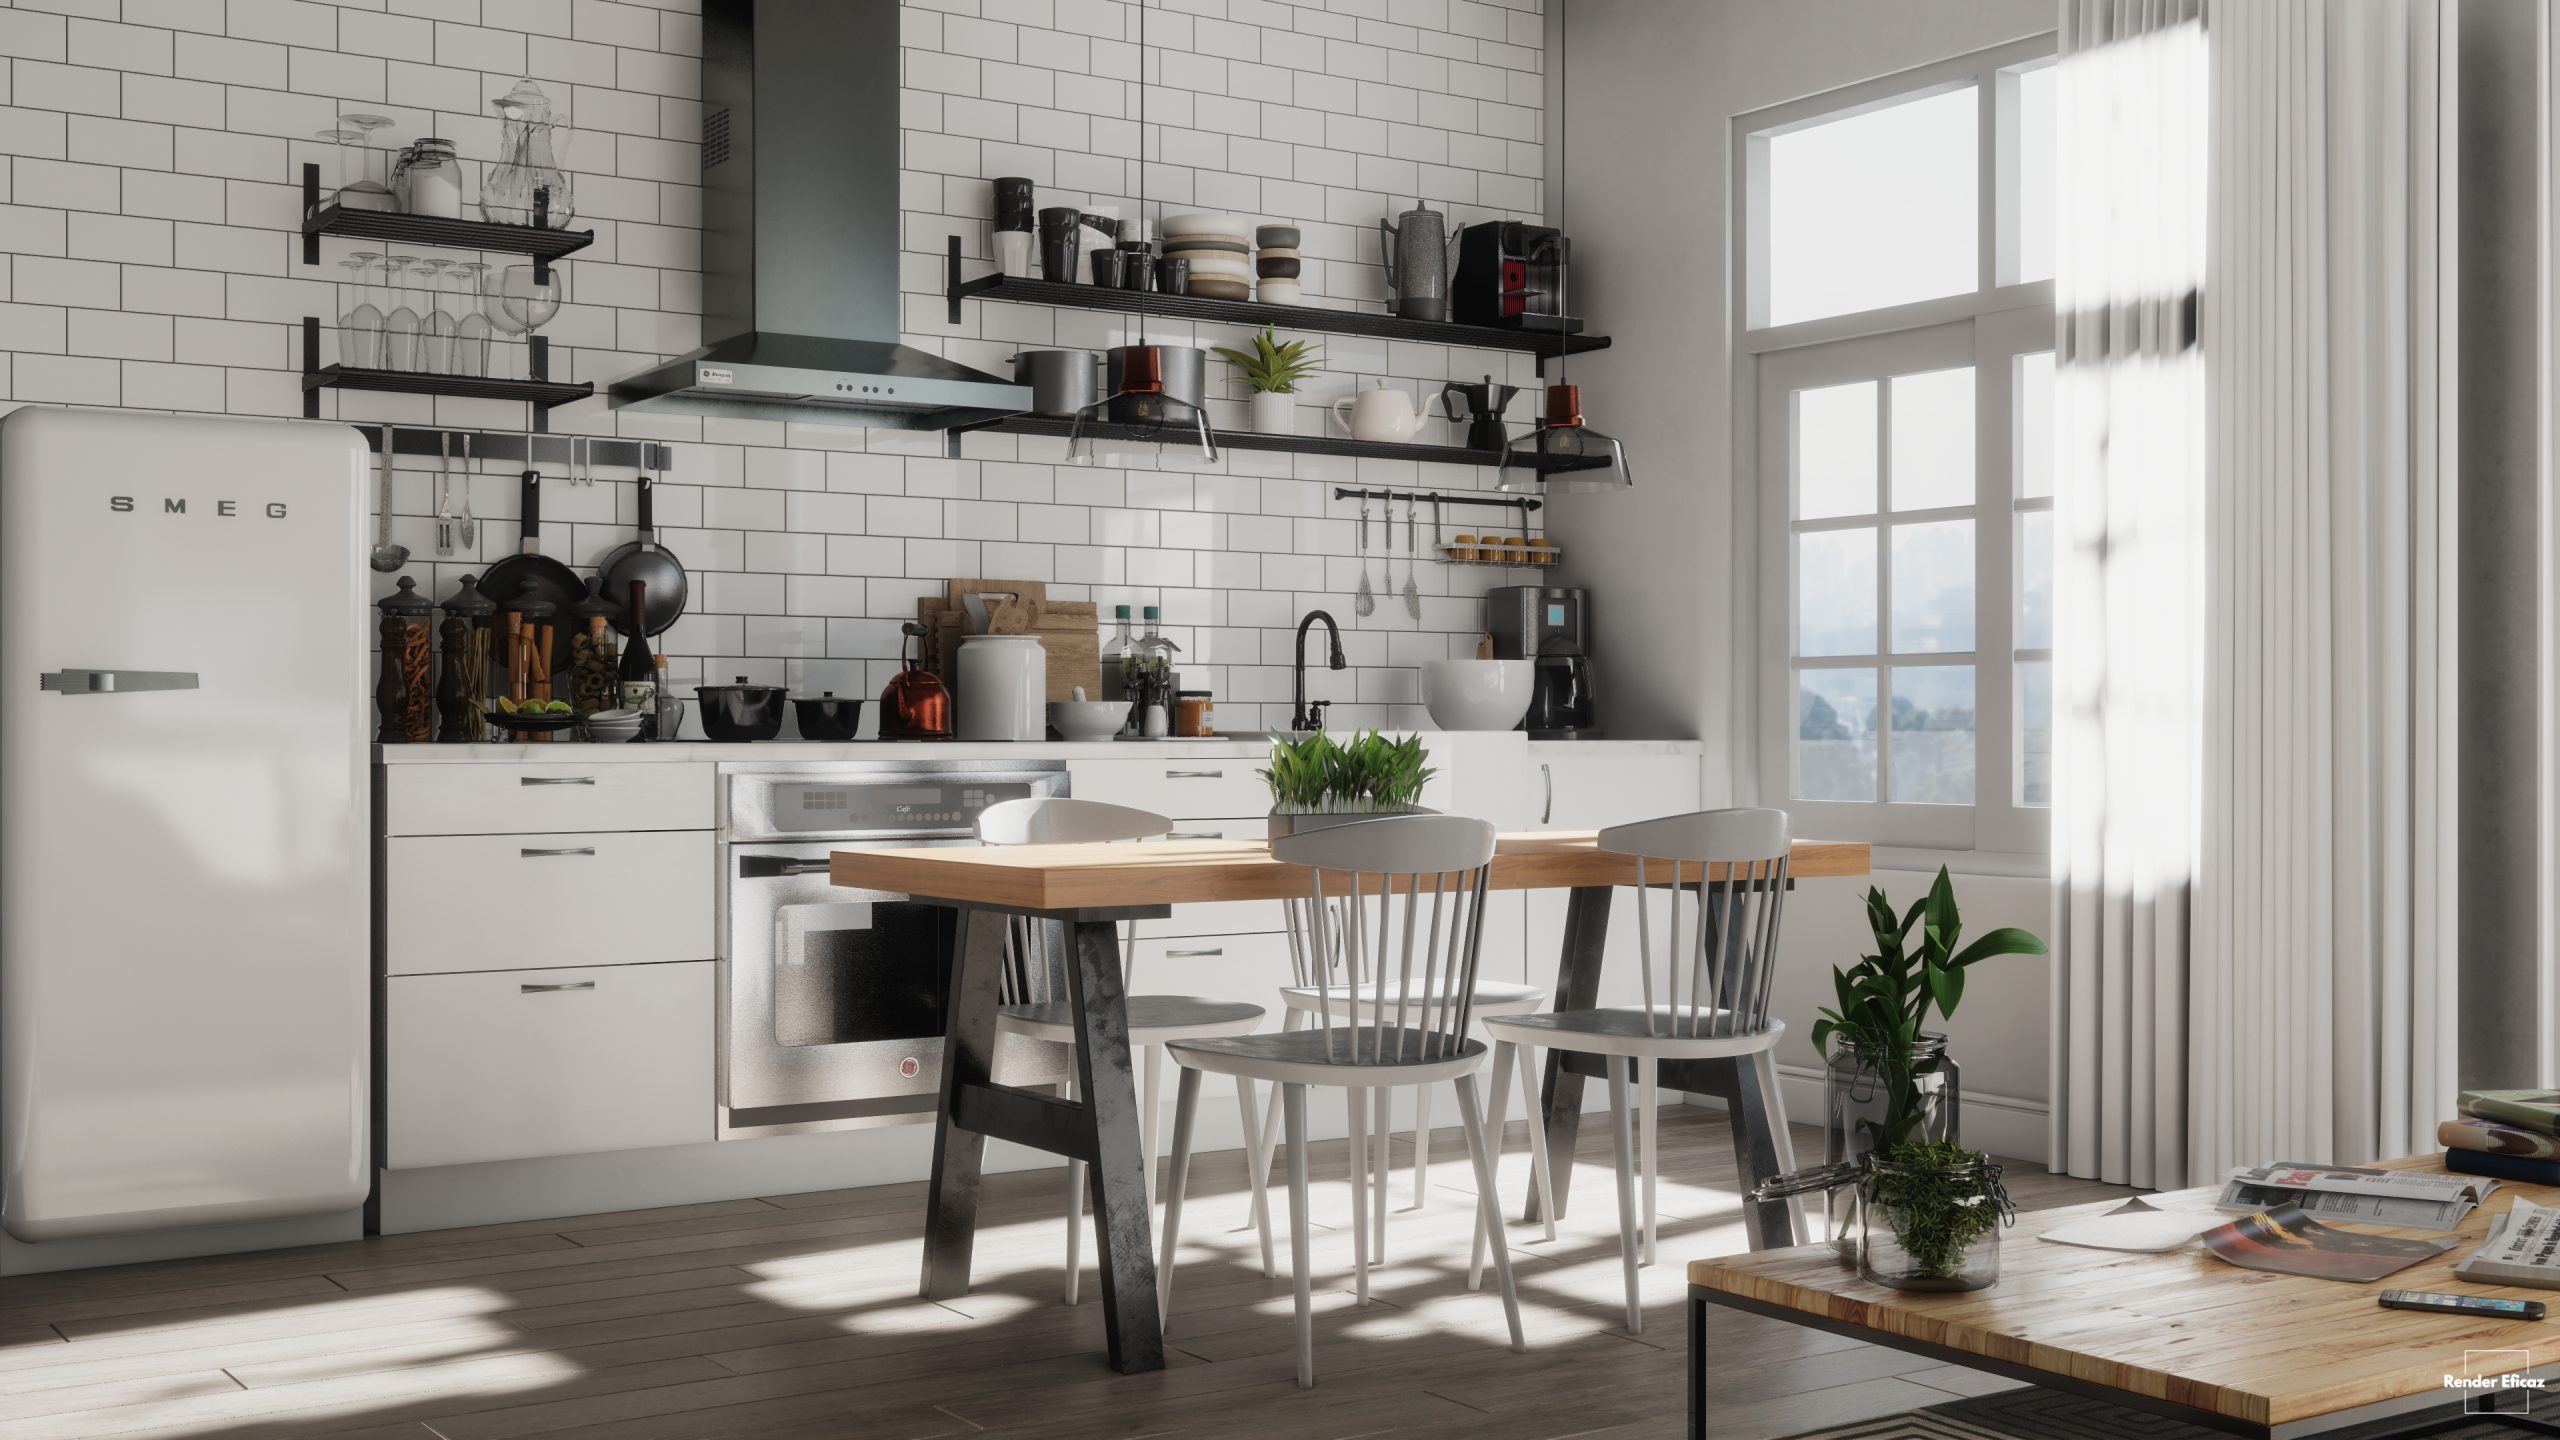
5 - Texturing - Quality is everything
Poor quality is the # 1 downfall of 3D textures; this encompasses blurry, undefined, extremely small or pixelated textures. You should strive to find high definition textures for every project. But that’s not all you need to consider. There is one more thing: seamless textures. Visible repetitions may reveal carelessness in choosing a texture. There are many websites that share seamless textures, but if you don’t find them it is possible to fix this repetition using image editor software.
Image editor software is a super ally for producing renderings. You can use it not only for post-production, but also to edit textures midway through a project. In Enscape, you can reproduce effects like “bump” and “reflections” from the default texture applied in 3D, also known as “albedo” in the Enscape Material Editor. However, in some cases you will have to edit these maps by formatting the amount of white and black on them to achieve the desired effect. This will translate to the aforementioned effects, which will make your renderings even more high-quality.
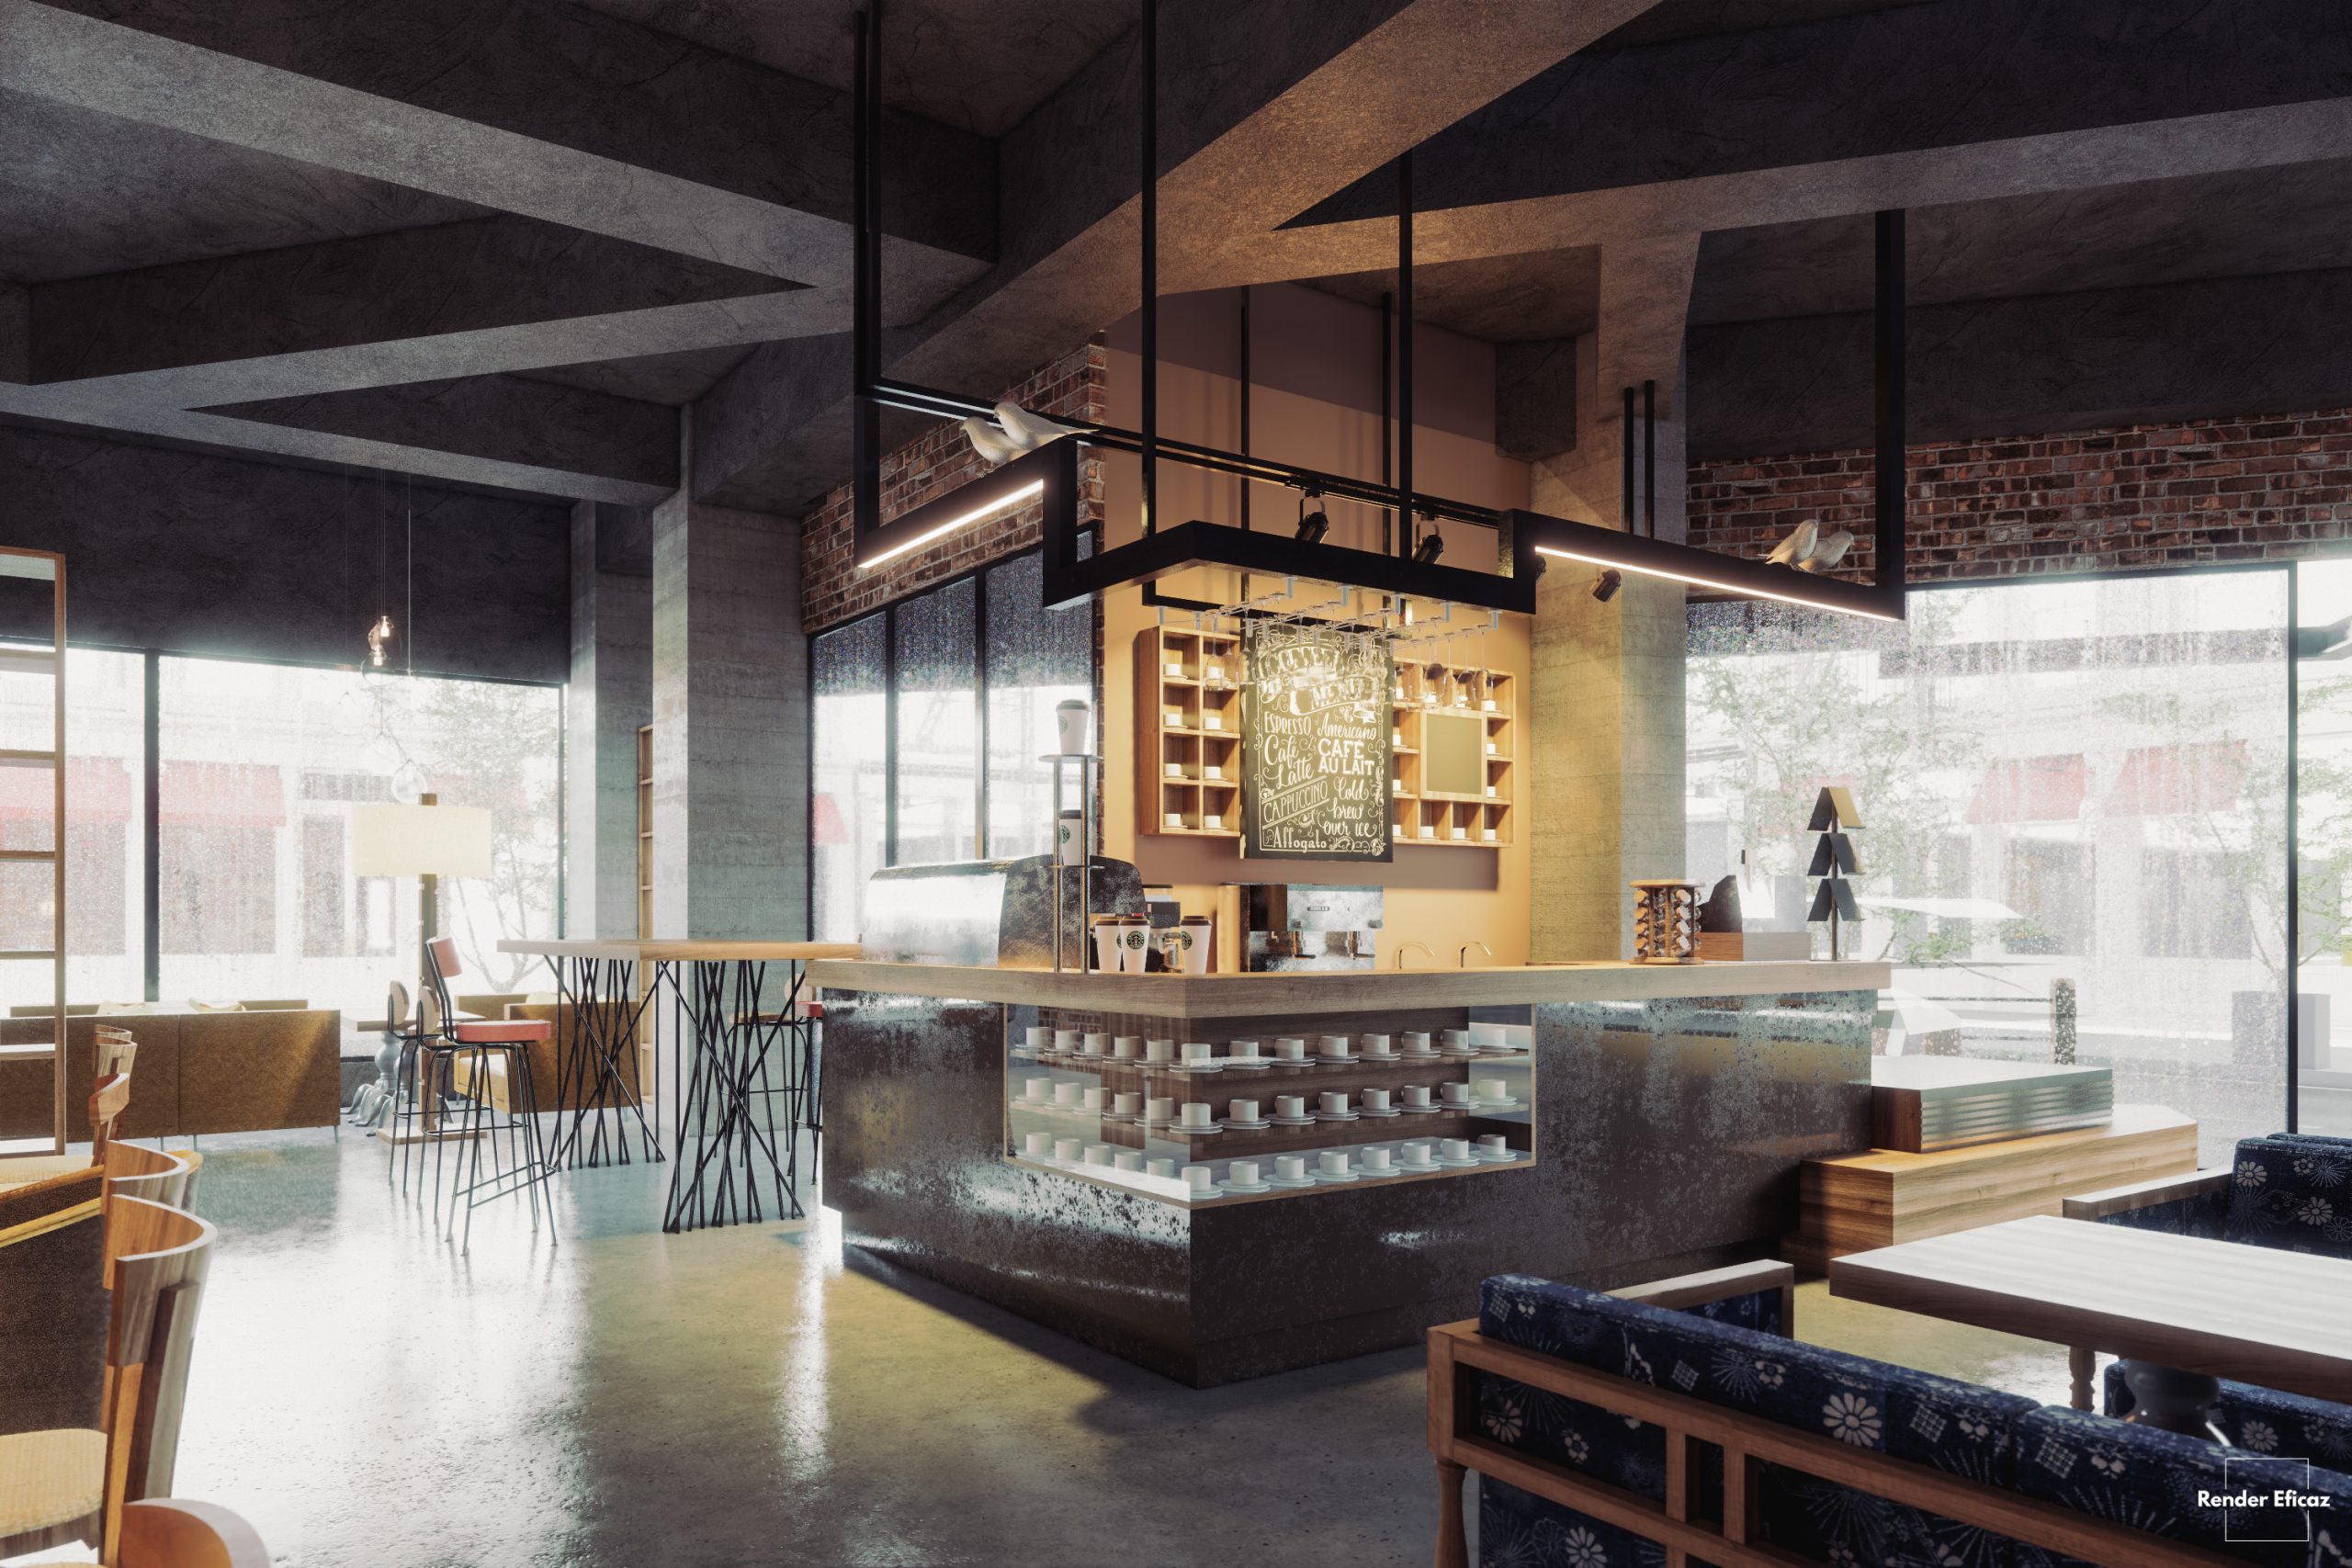
6 - Camera and settings – Find the right angle
Composition, angles, what to show: these are all very personal decisions. After all, there are many good architectural photographers and each one of them has their own particular style. Thus, it is interesting to observe which features you enjoy in their work and then try to create your own style.
In addition, there is one detail that can reveal whether you have already mastered photography and how it can be applied in Enscape: field of view (FOV). Using the wrong field of view for a certain type of scene, internal or external, can compromise all the work you have done so far. Search which FOV professional photographers use in their images. Particularly, I like to use values between 18 and 35 mm for a professional effect.
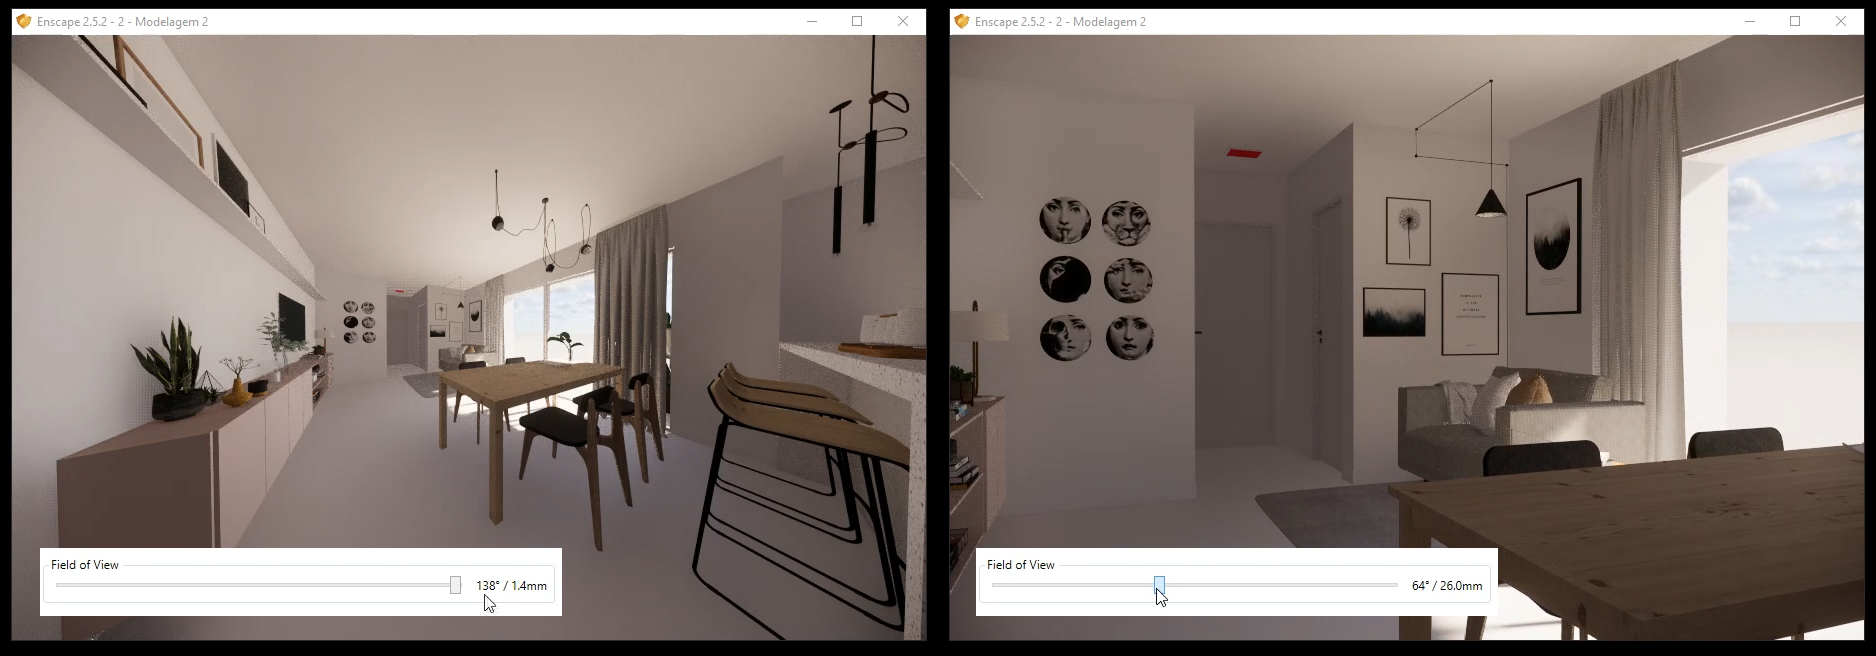
Misconfiguration of the field of view can distort your final rendering.
A second feature that makes a difference is architectural two-point perspective. You can see in many professional indoor or outdoor photos how vertical lines are perfectly aligned vertically. In Enscape, you can quickly enable this feature. Regarding the rendering settings, there are some important requirements:
- Select the Ultra Quality option, thus Enscape will deliver the best refinement of lights and shadows.
- In the Capture tab, set a resolution. You can choose defaults or custom formats, such as square proportion, for example. Golden Tip: not every photo has to have the landscape format!
- If you want to do a post-production edition, be sure to check the boxes Export Material ID and Depth Channel. These two channels will greatly assist you in editing parts in the overall image control.
7 - Final Refinement- The finishing touches
Now you’ve gotten everything right: modeling, lighting, texturing, settings and camera. You are ready to save the image. Since Enscape is real-time, unlike many other renderers, you can check for possible errors or details that can be improved while modeling. With this in mind, here are some tips you can apply before rendering:
- Save the camera position. If you have already carefully adjusted the angle you want to portray but need to zoom in to adjust a detail, saving the camera will save you time when finding the same position again.
- Make sure there are no flying objects or blocks. It is more common than it sounds.
- When using grass material for outdoor images, check if it is not invading any floor area.
- If you are making images with artificial lights, make sure their strength is not disproportionate, i.e. not bursting white and losing definition of nearby materials. The same goes for shadows: extremely dark areas lose information and material quality.
Render time! Click the button, choose the location to save the image and before clicking the save button decide what is the best format to save the image. My favorite format is PNG which provides a good balance between quality and file weight.
I hope these tips have been useful and will help you to create even more realistic renderings in Enscape. If I would say something to close this post it would be: be curious and excited to discover how things work. When you have the enjoyment of exploring and studying the world, simulating it on a 3d scenario is much more fun!

Pablo Correa
Pablo is an architect and 3D artist based in Brazil.
He makes articles, tutorials and 3D Renderings on his website Render Eficaz.
You can also find Pablo on Instagram, Facebook and YouTube.